Open up Xcode, and you should be greeted with the splash screen. Click Create a new Xcode project.

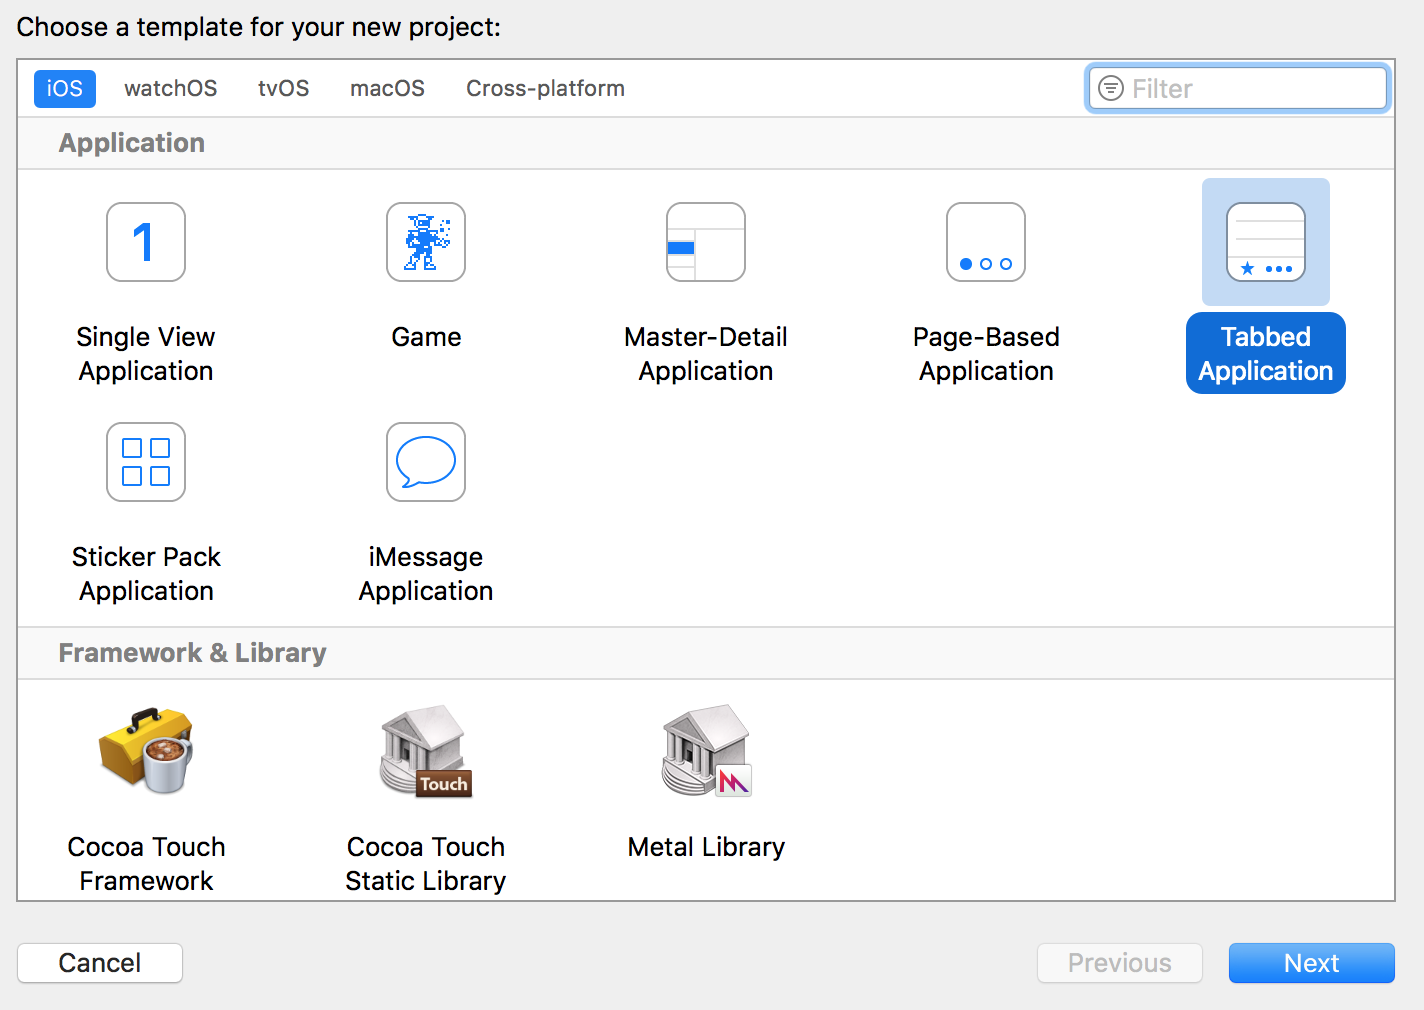
Select the Tabbed Application template. This starts your app with a basic Tab Bar Navigation Controller.
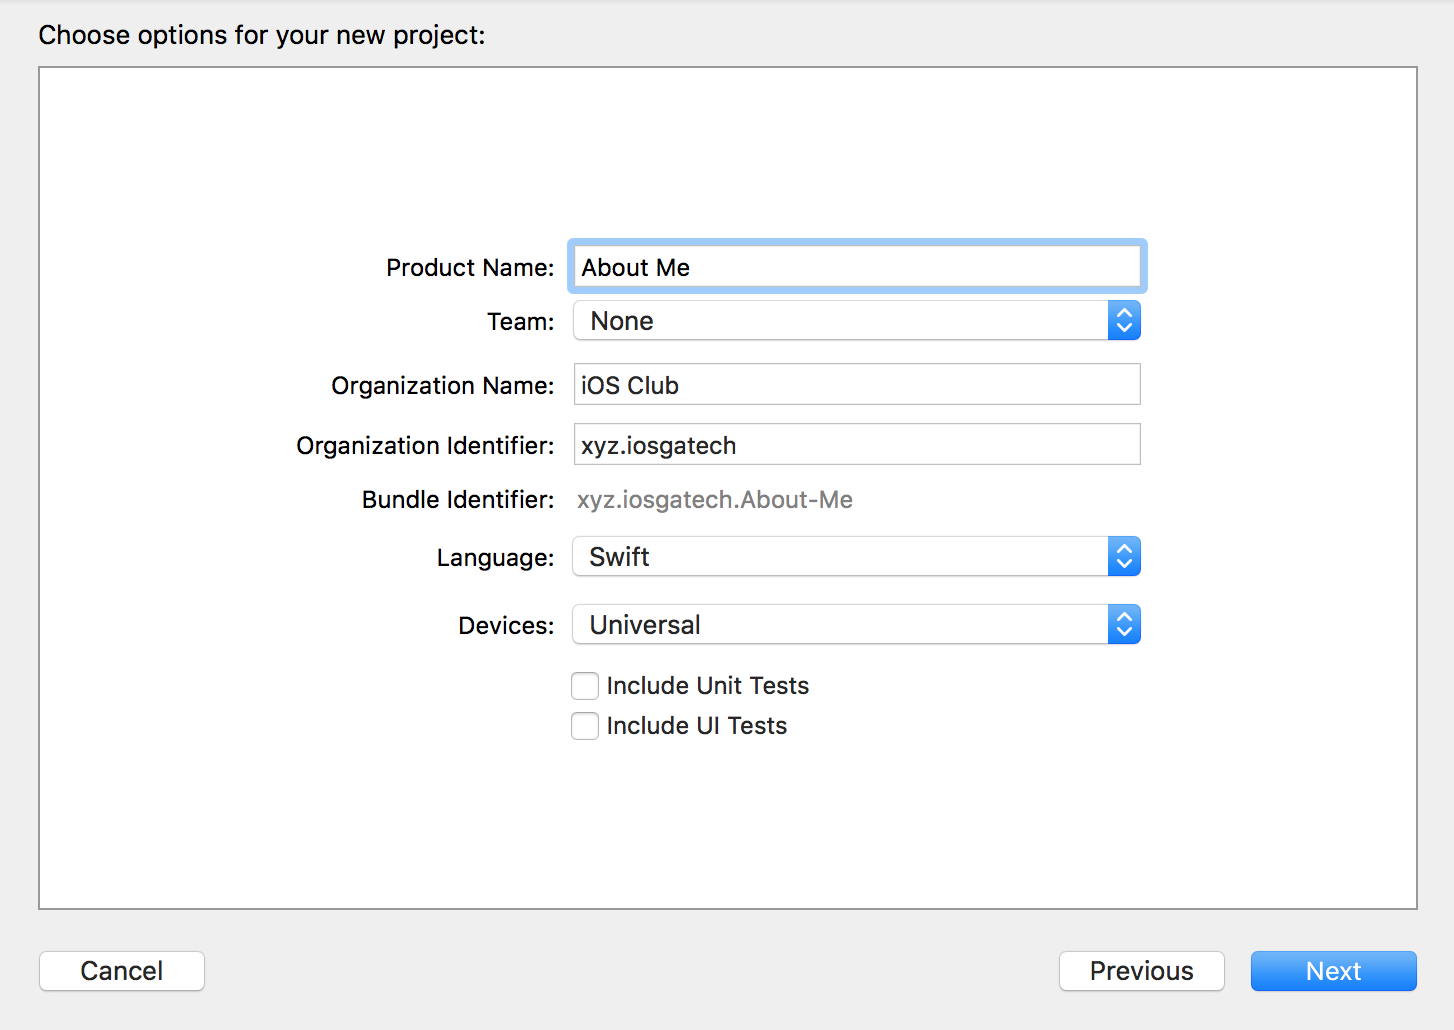
On the next screen, name your project and set an organization name if you’d like. The organization name and identifier don’t matter unless you’re publishing an app, so you can mostly ignore them for now.
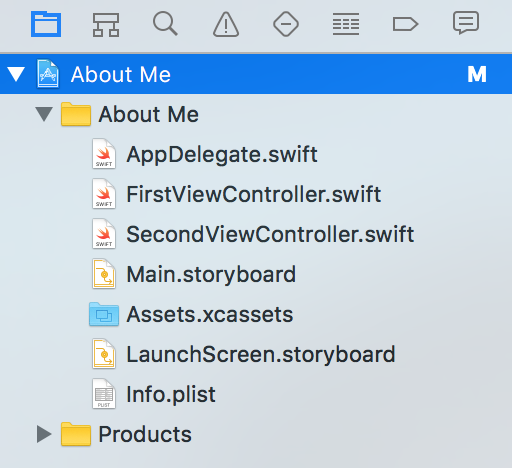
Save the project somewhere & it should pop open. You should see seven files in the File Explorer on the left:
We actually won’t be writing any code for this app. We’ll spend almost all of our time inside the Main.storyboard, so let’s open it up and get familiar with everything.
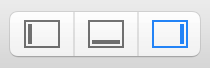
tip: If you feel a little cramped when you open the storyboard, you can hide the File Explorer by toggling this left button on the top right of the screen:
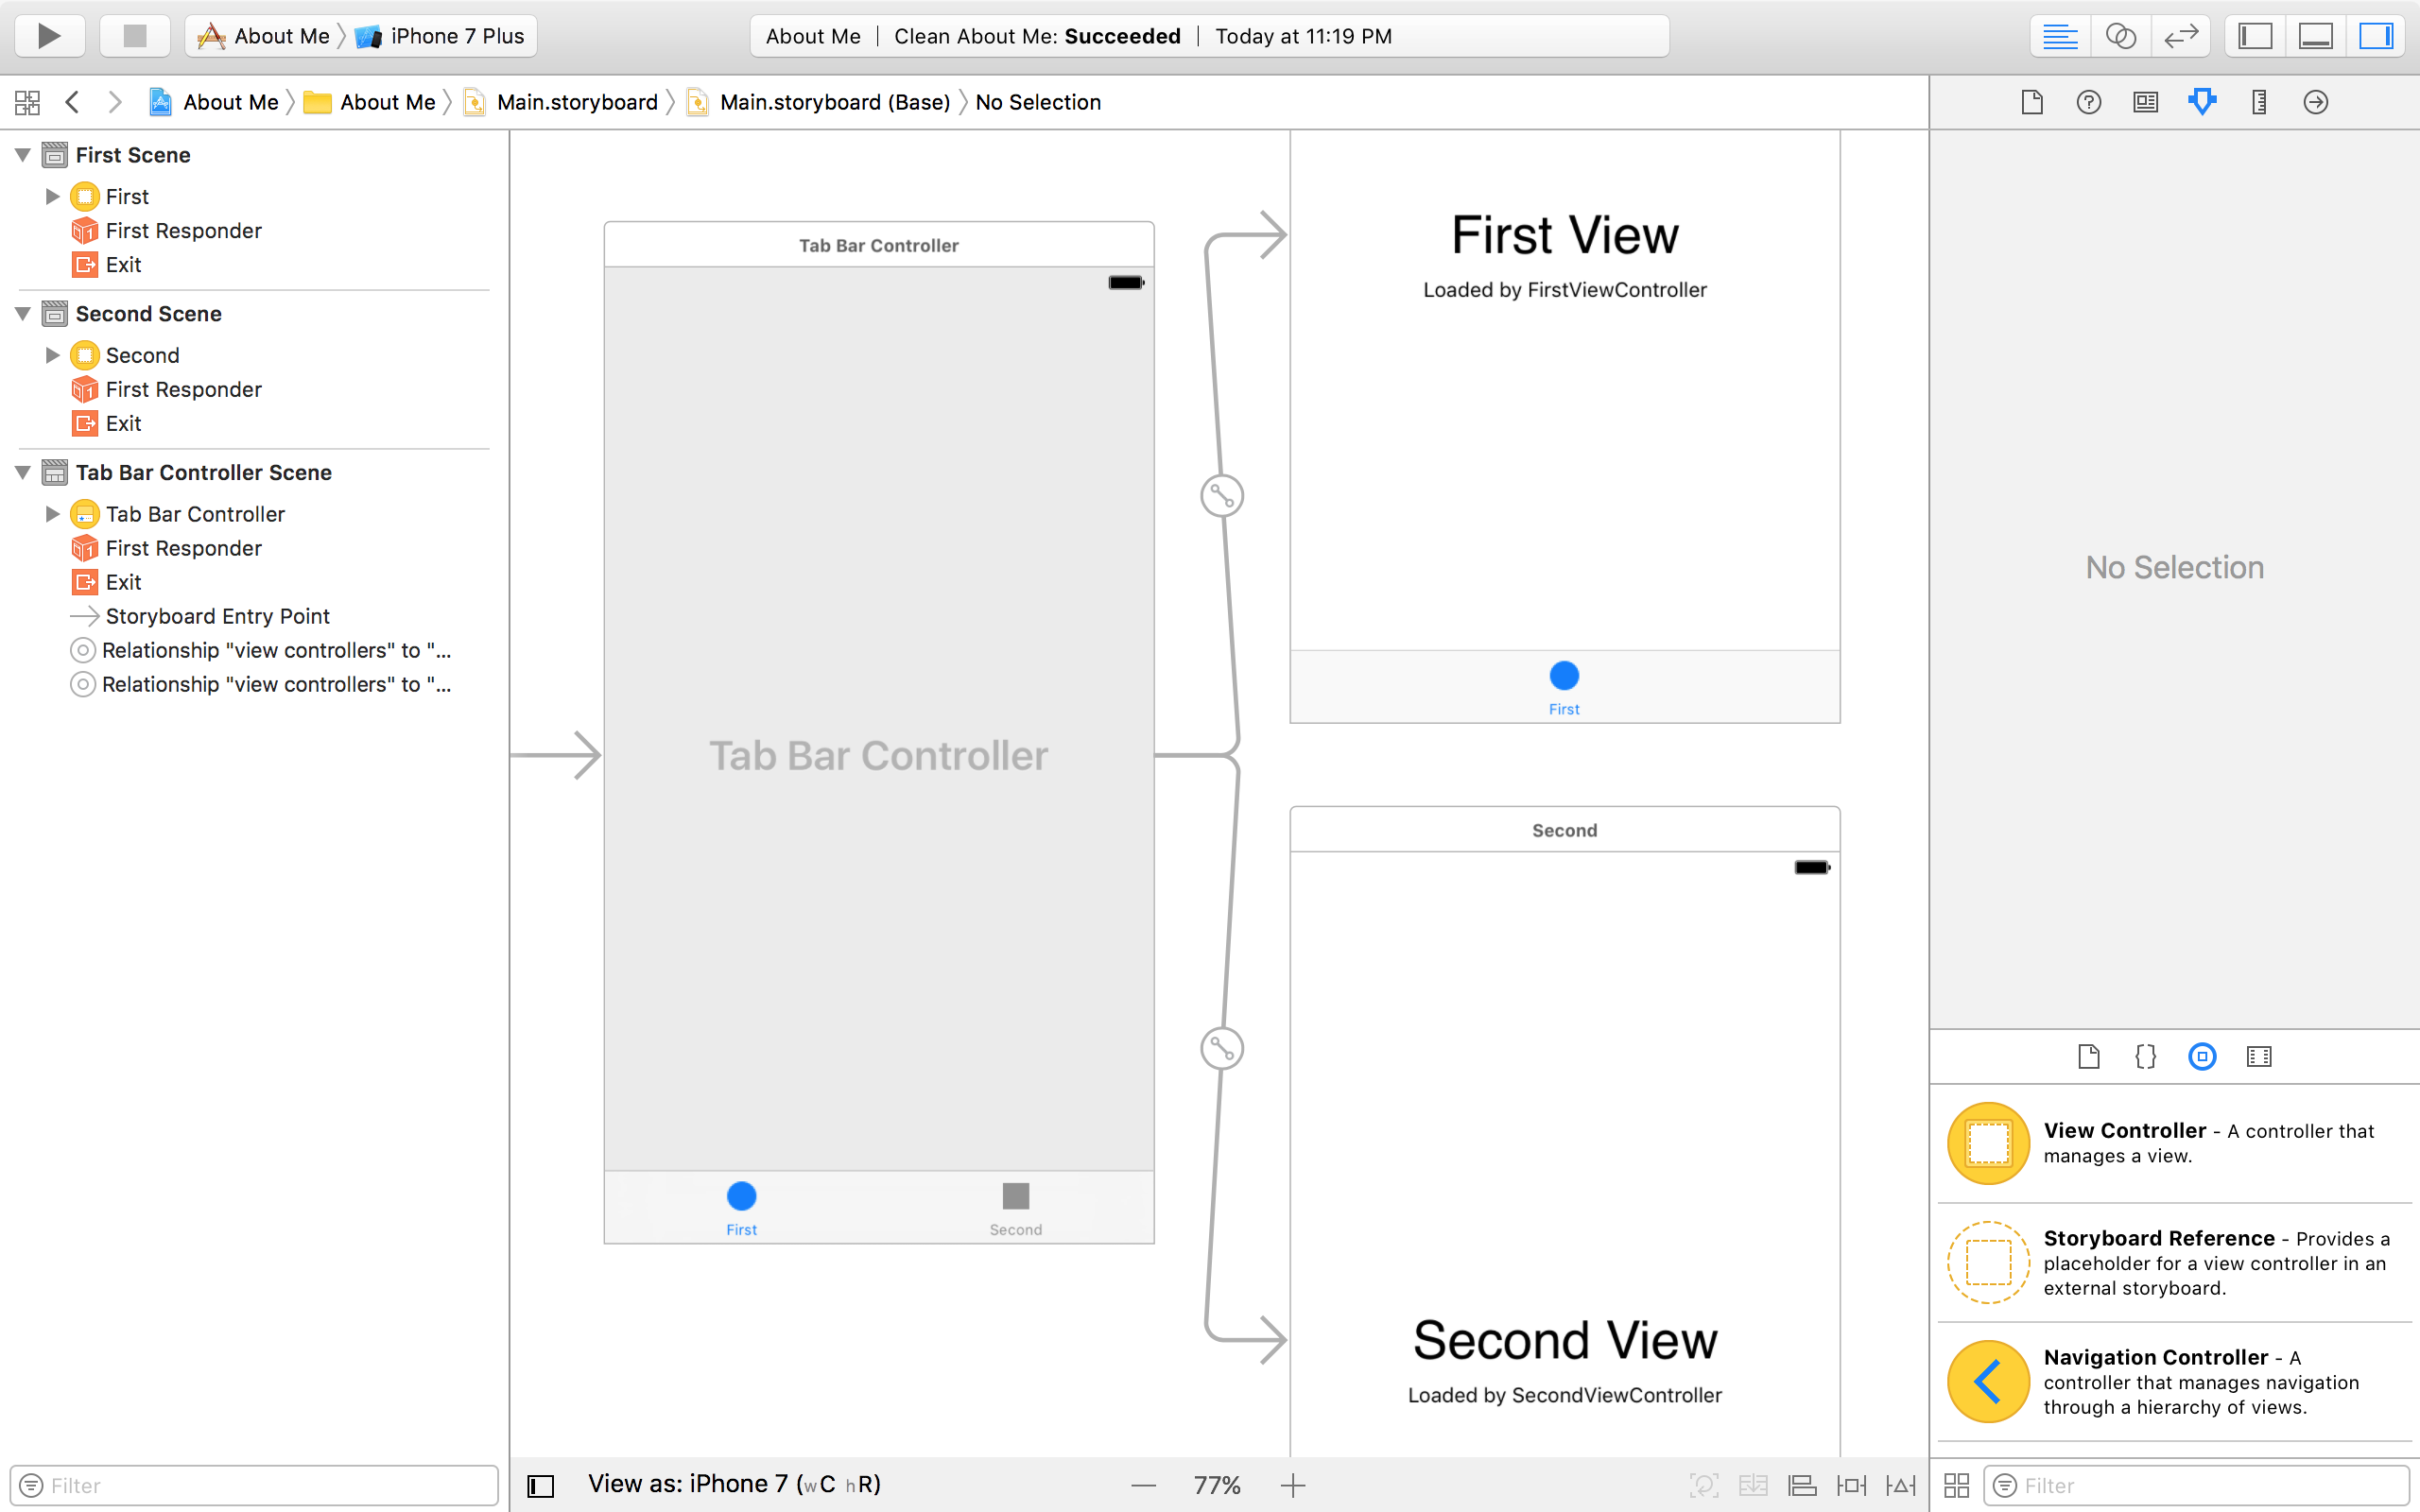
Opening the storyboard bring us to Interface Builder. This is where we’ll design our app. There are four major pieces that we need to be aware of:
- Editor Canvas (center): This is where we actually design the screens in our app. An individual screen is called a
View Controller. The Tabbed Application template we chose earlier started us with three View Controllers. - View Heierarchy (left): The View Heierarchy shows you a tree of all the views and View Controllers in your storyboard.
- Inspector (center right): The Inspector is where you can control and customize the views in your canvas. Since we don’t have anything selected, it shows No Selection right now.
- View Palette (bottom right): The View Palette shows you all of the different components that you can add to your canvas. Make sure you have the third item selected (the other three aren’t all that useful).
In the next part, we’ll start designing our first View Controller.


