Create NoteListTableViewController.swift
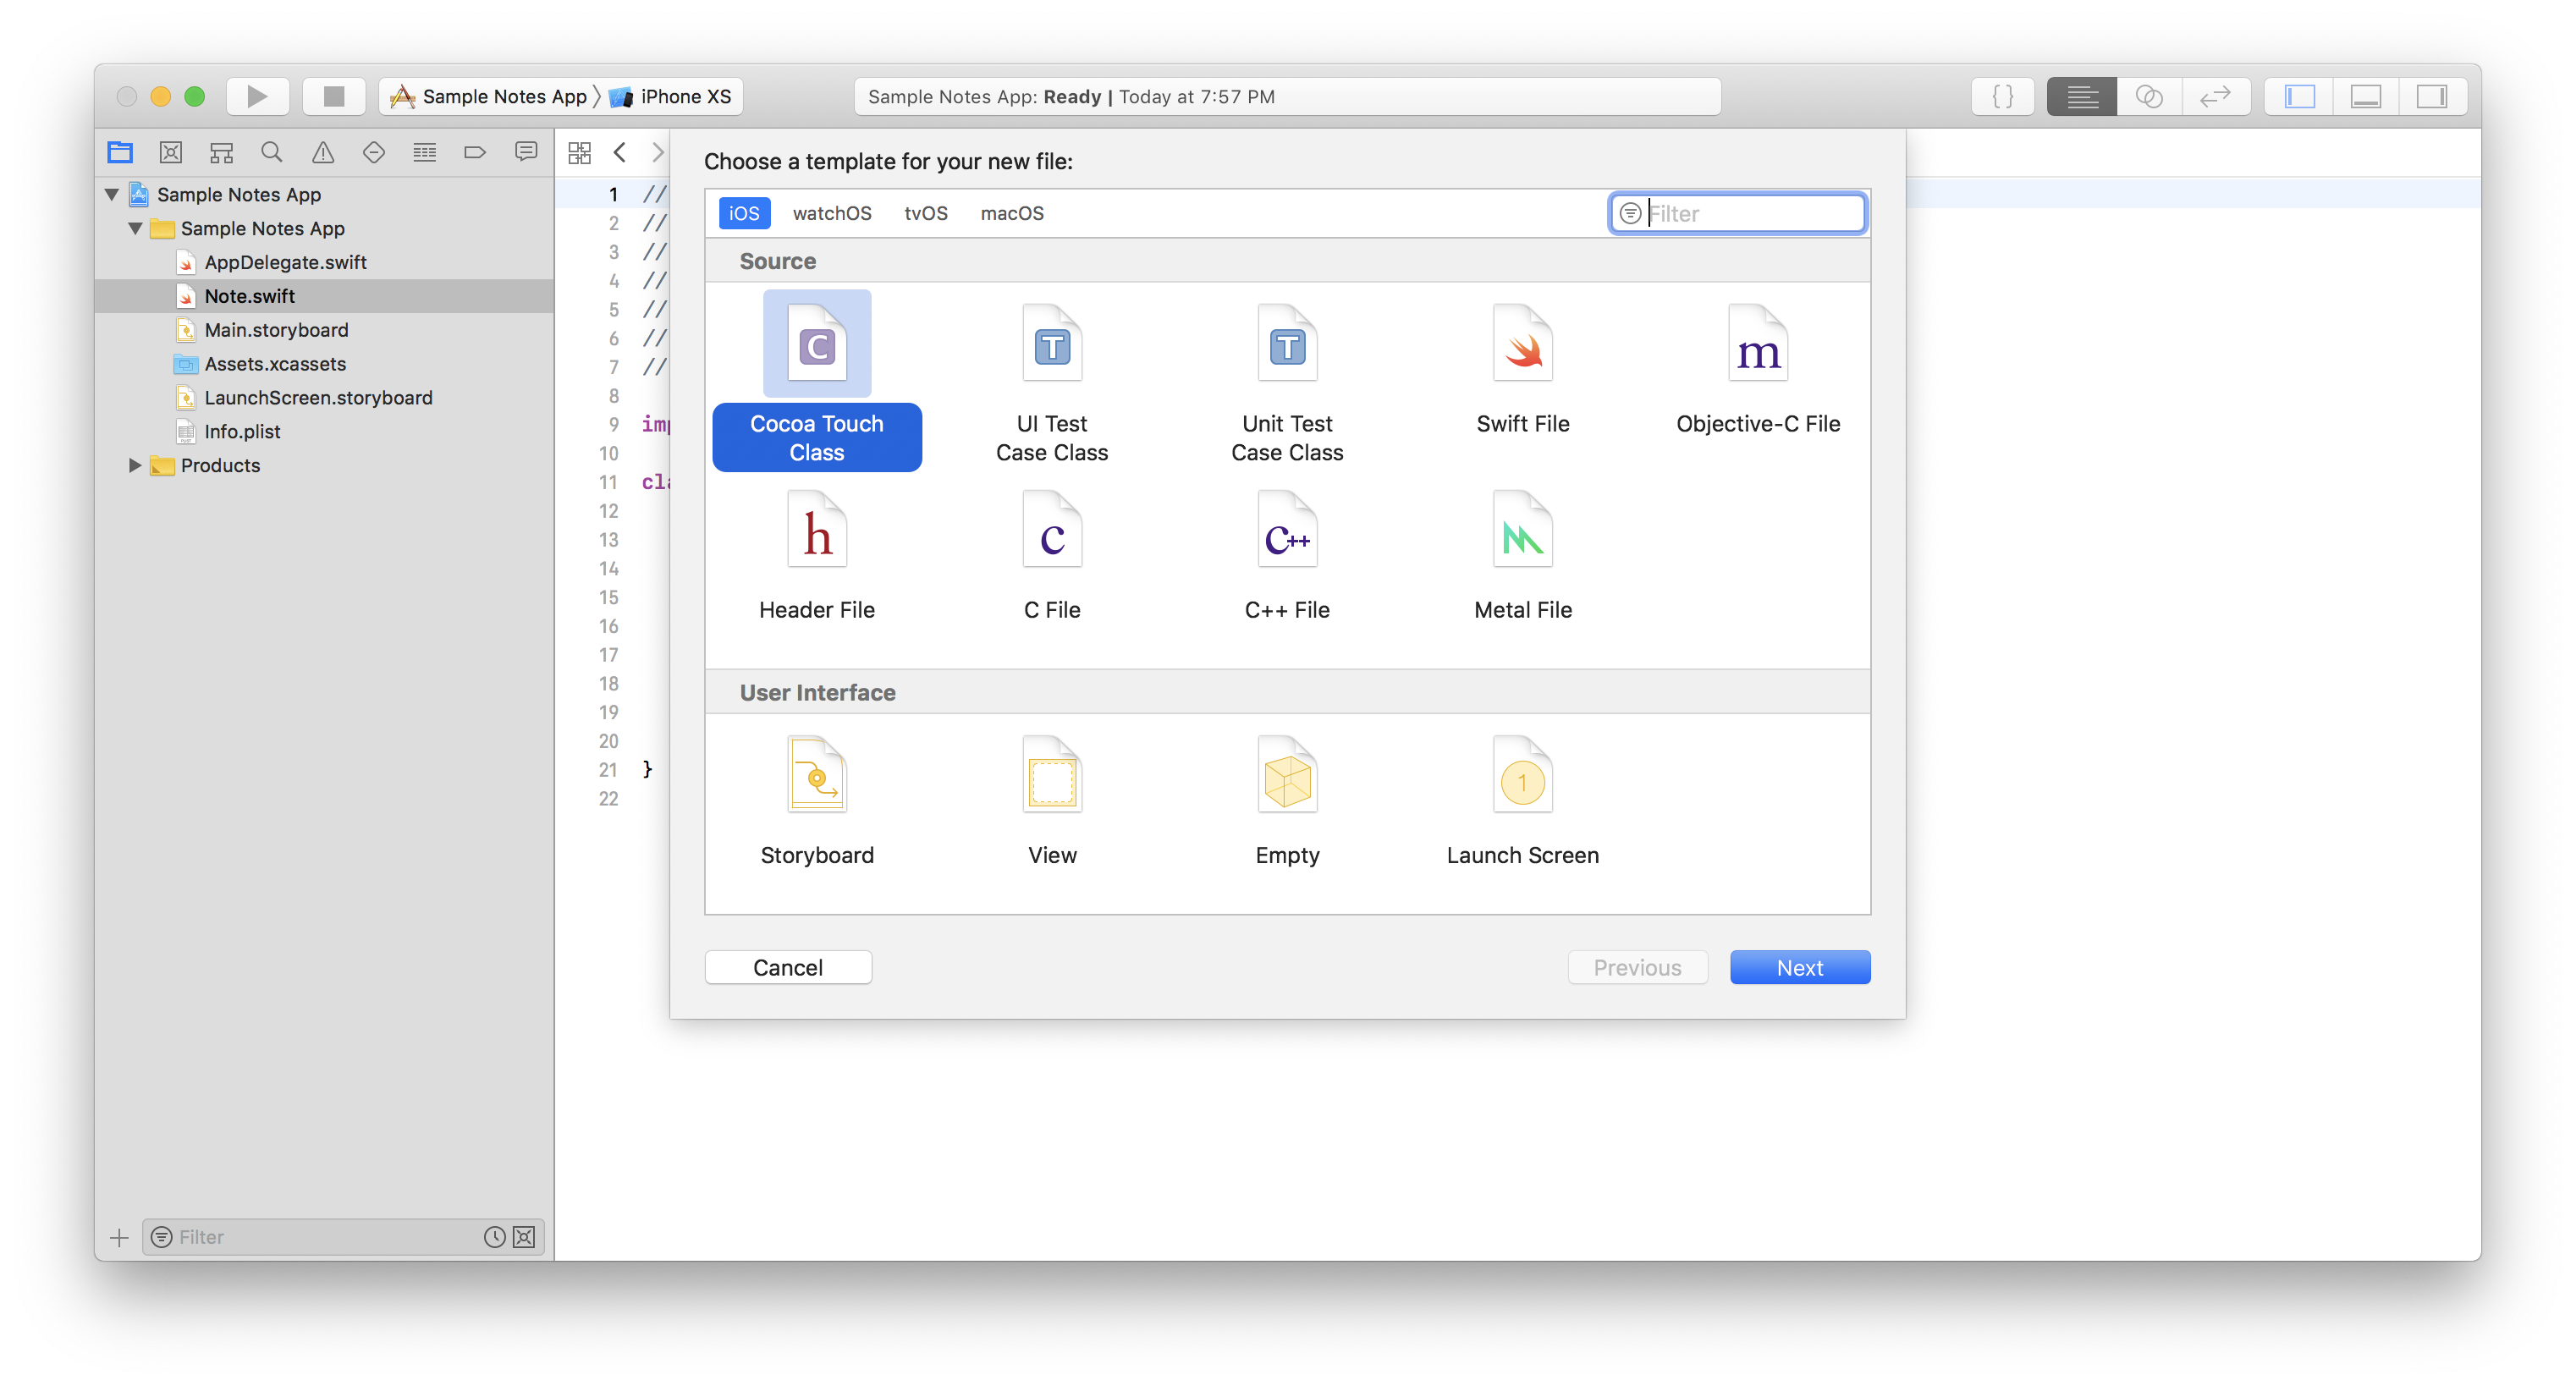
We’re going to create a UIViewController subclass that displays a list of notes. Bring up the template using File -> New -> File and choosing “Cocoa Touch Class”.
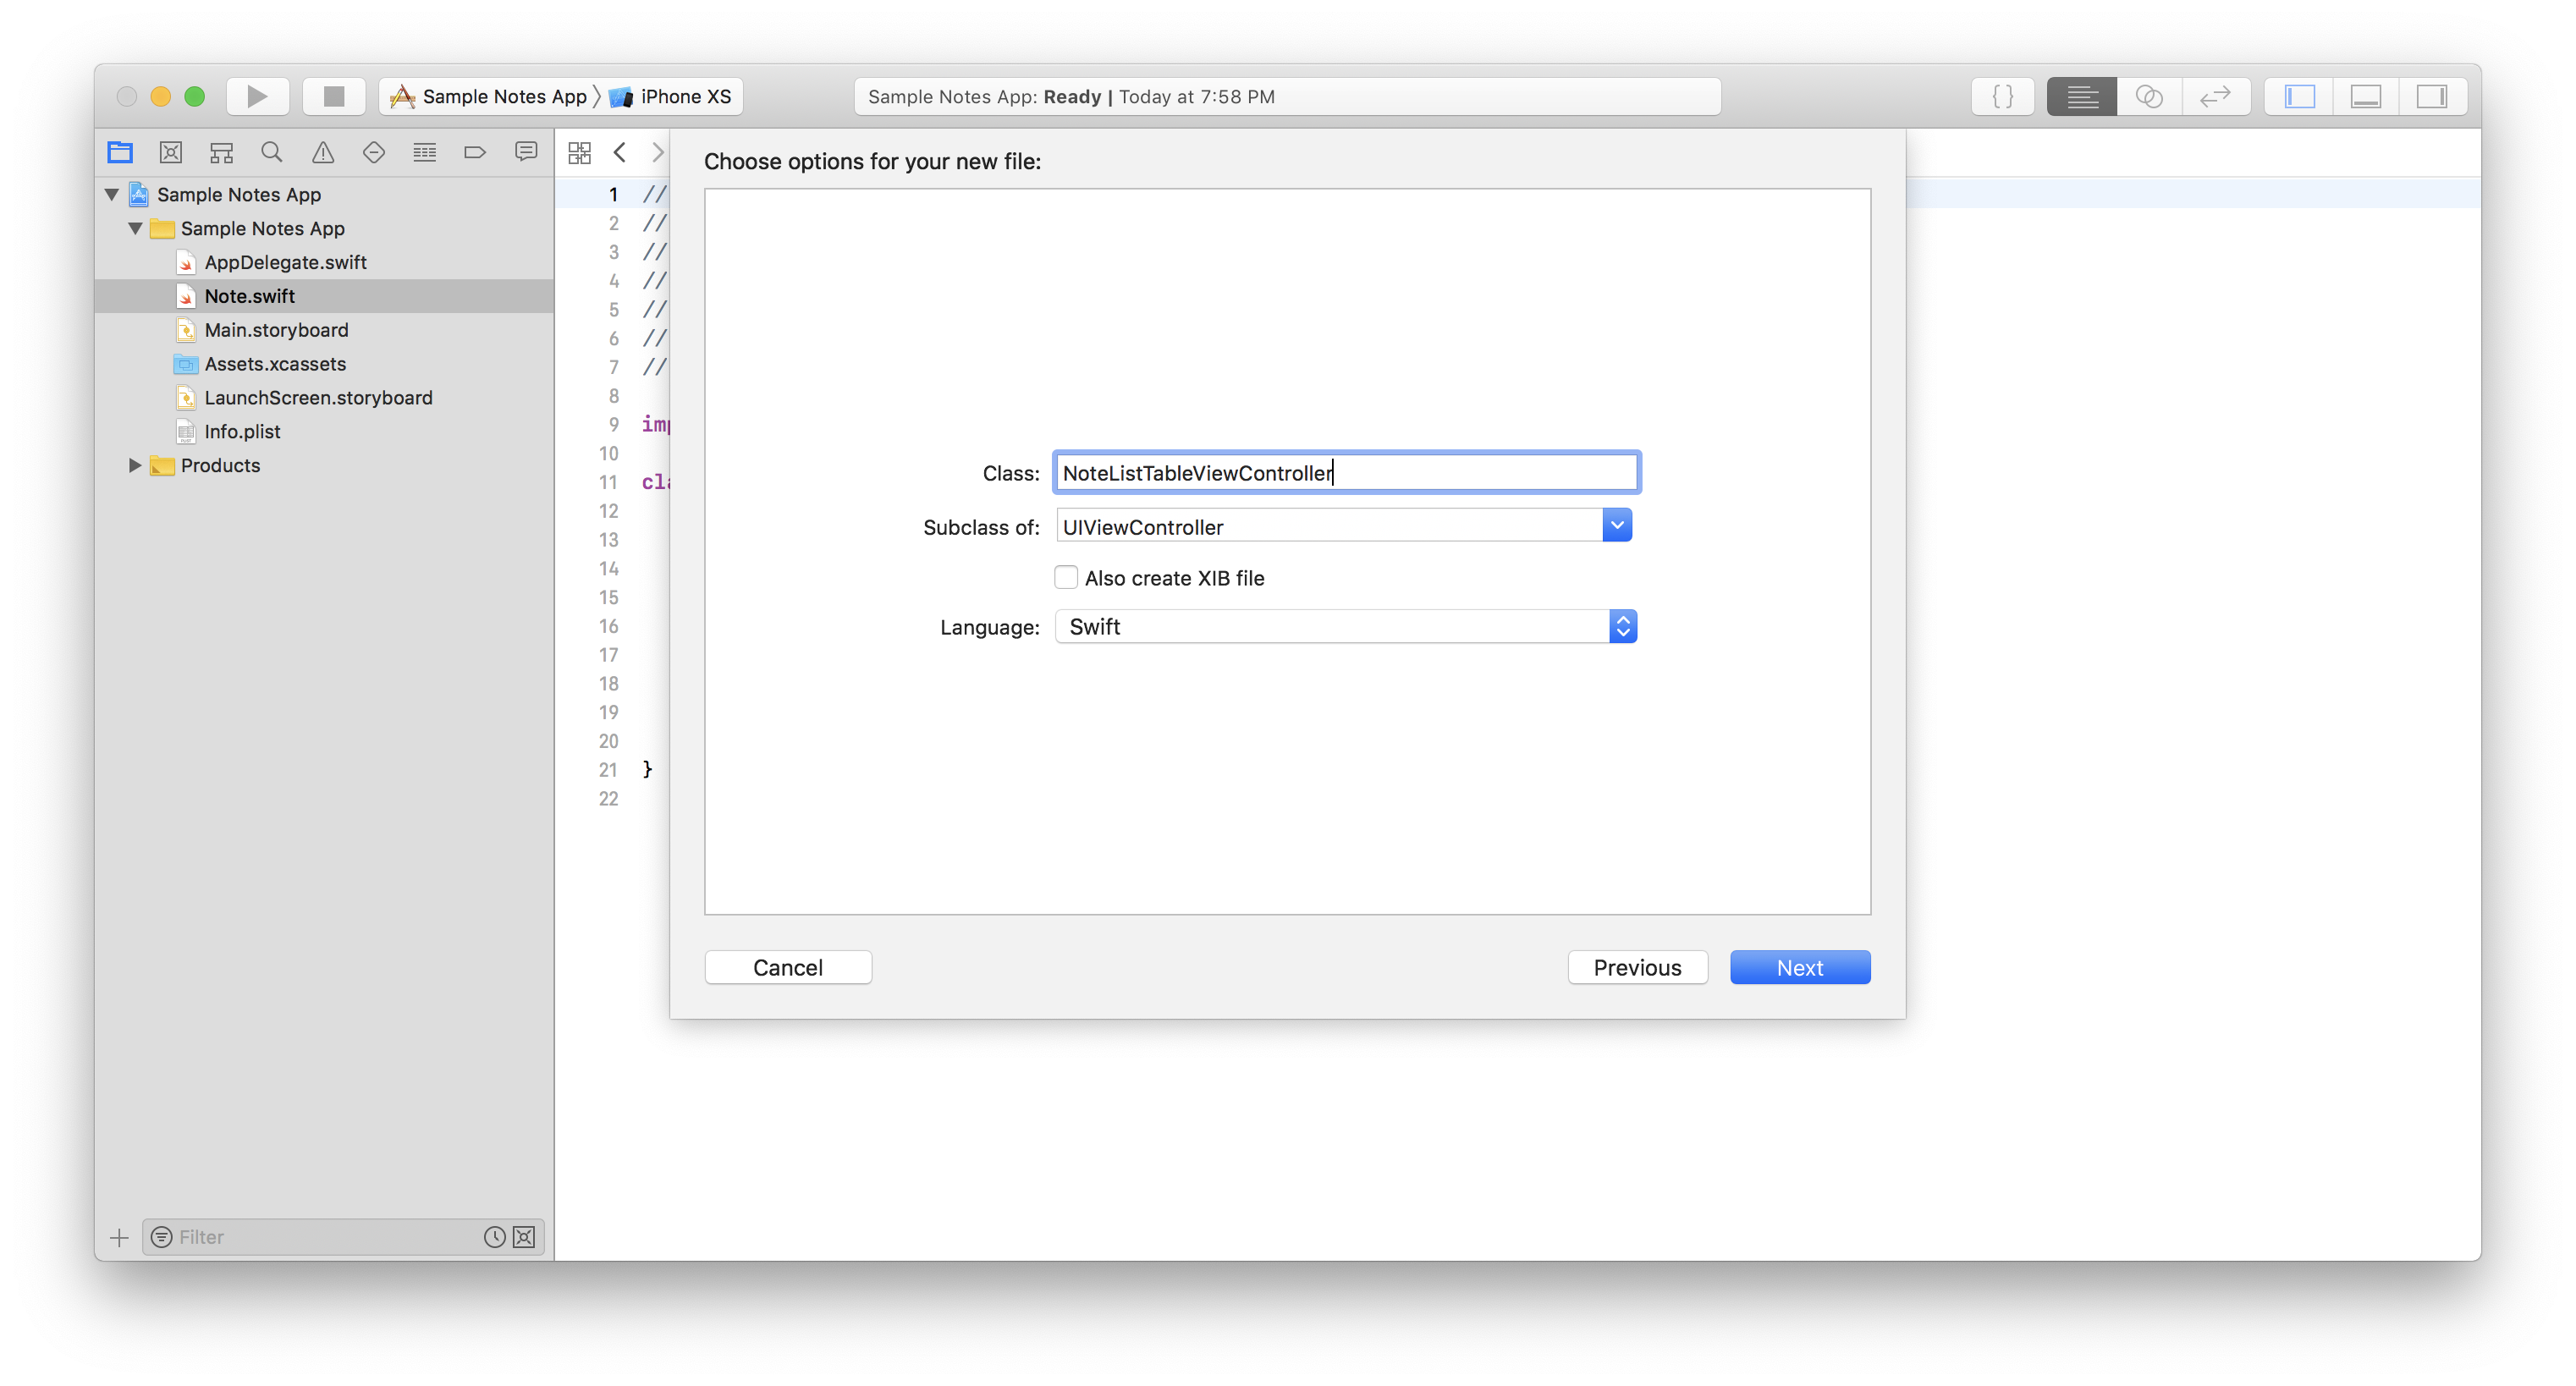
Tell Xcode to make the new NoteListTableViewController a subclass of UIViewController.
Once the class has been created, go ahead and remove the didReceiveMemoryWarning() function. Don’t delete the viewDidLoad() and prepareForSegue() methods; they will be used later.
Next we’re going to declare an outlet for our UITableView which we will connect in a minute. Declare the following variable just below the NoteListTableViewController declaration.
class NoteListTableViewController: UIViewController {

    @IBOutlet weak var tableView: UITableView!
    ...
Create NoteViewController.swift
Follow the same process above to create another View Controller subclass but call this one NoteViewController.swift. This screen will be responsible for displaying a Note and allowing the user to edit the title and body.
Go ahead and replace all three template methods with two properties: a Text Field for the title and a Text View for the body.
class NoteViewController: UIViewController {

    @IBOutlet weak var titleTextField: UITextField!
    @IBOutlet weak var bodyTextView: UITextView!

}
Interface Builder
Next we are going to design our UI (at this point we are assuming that you are familliar with Interface Builder and Autolayout).
- Drag out a View Controller scene and set the class to
NoteListTableViewController. - Embed the controller inside of a Navigation Controller by selecting the controller and then using Xcode -> Editor -> Embed In -> Navigation Controller.
- Use the attributes inspector to make the Navigation controller the initial view controller.
- Drag a Table View into our main view controller and use autolayout to completely fill the scene. Afterwards, connect the Table View to the controller’s
tableViewoutlet. - Drag a Table View Cell into the new Table View. In the Attributes Inspectory change the style to “Right Detail” and the Reuse Identifier to “Note Cell”.
- Drag out another View Controller scene and set the class to
NoteViewController. - Control+Drag from the Cell in the Note List Table View Controller to the Note View Controller to create a segue that will be triggered when the cell is tapped.
- Drag out a Text Field, set the placeholder to “Title”, and pin the left right and top constraints to the superview with standard spacing.
- Drag out a Text View below the Text Field
- Change the existing text to “Contents”
- Pin the left, right and bottom constraints to the superview with standard spacing
- Pin the top constraint to the bottom of the Text Field
- Connect the two outlets on the Note View Controller (
titleTextFieldandbodyTextView) to the Text Field and Text View you just added
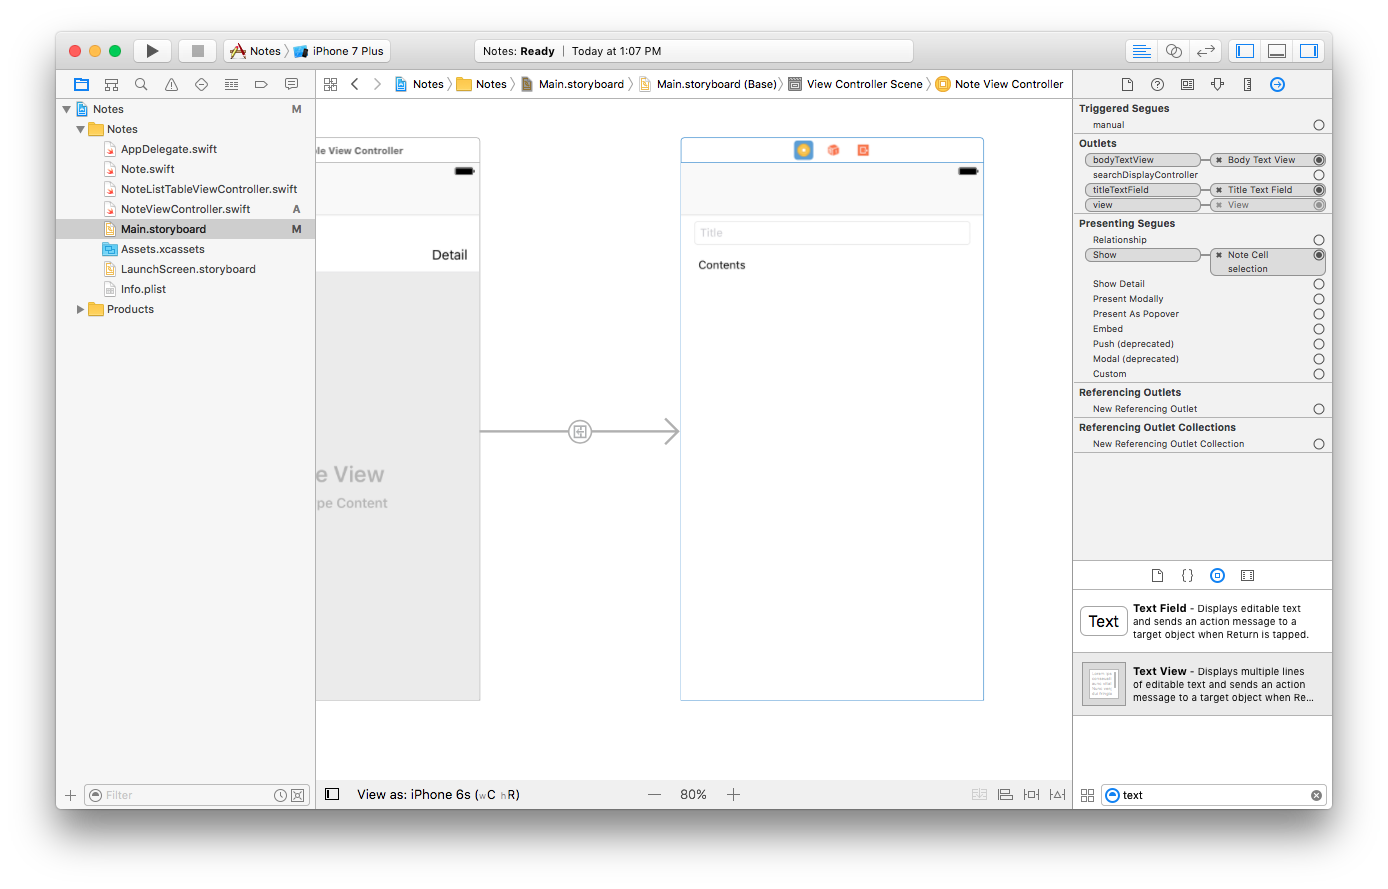
Recap
We have created a Navigation Controller containing NoteListTableViewController and a tableview. Tapping the row will segue to NoteViewController which contains a Text Field and Text View.


