Once we have a proper WeatherData object, we’re ready to update our text labels. We’ll write a dedicated function for this:
func updateLabels(with data: WeatherData, at location: CLLocation) {
    self.temperature.text = data.temperature
    self.weatherDescription.text = data.description
    self.weatherIcon.text = data.icon
}
and we’ll call it from where we have the WeatherData:
if let weatherData = weatherData {
    self.updateLabels(with: weatherData, at: location)
}
Now if you run the app and give it a moment to load the forecast, you should see a temperature:
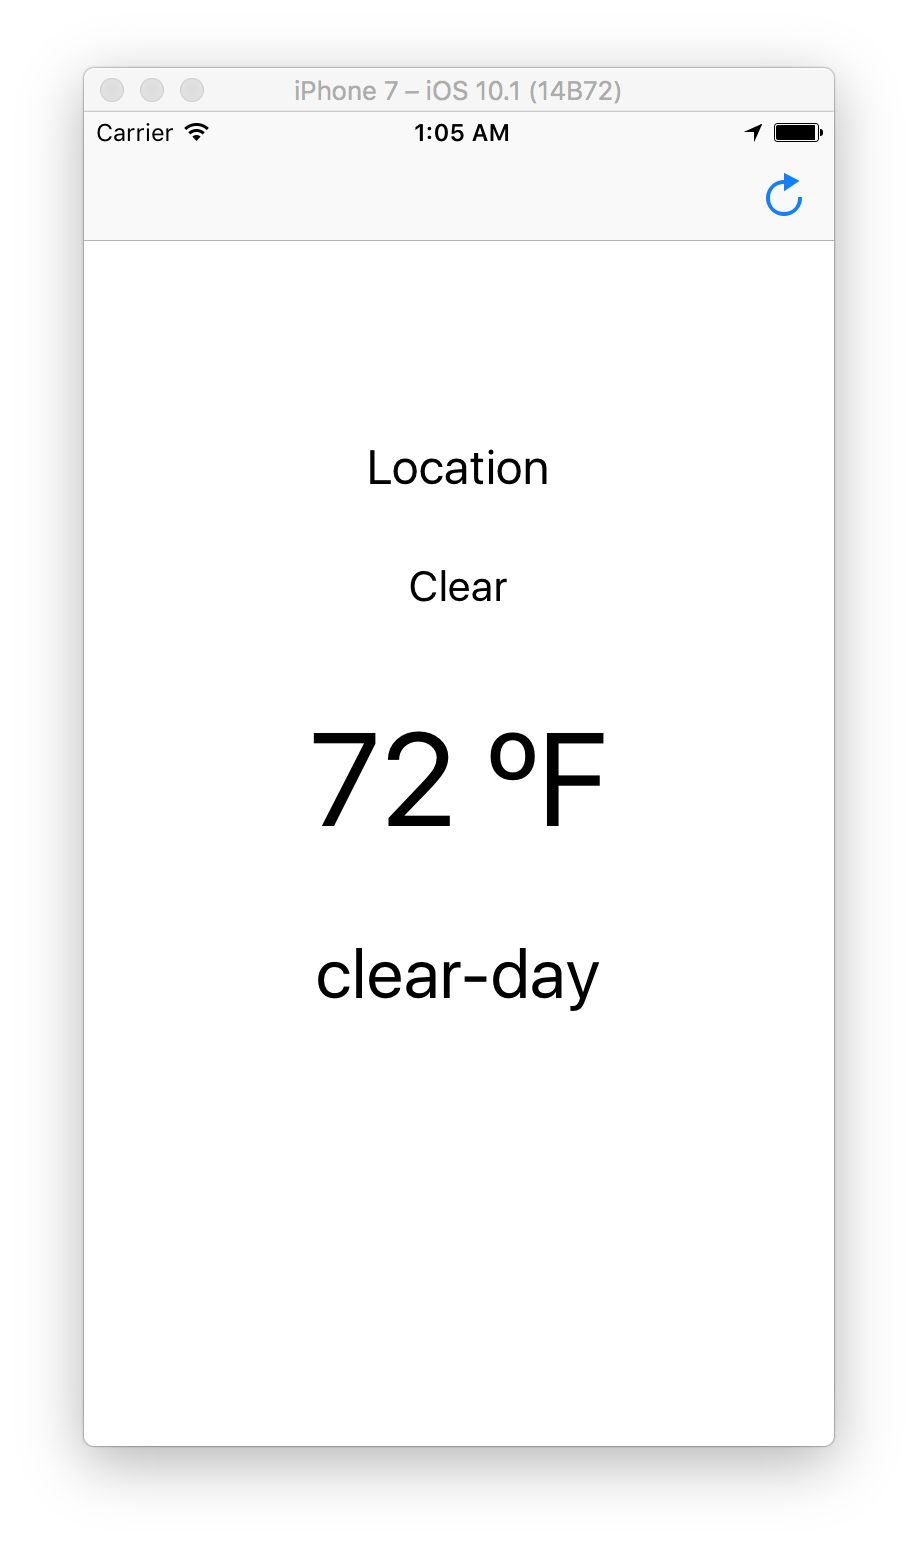
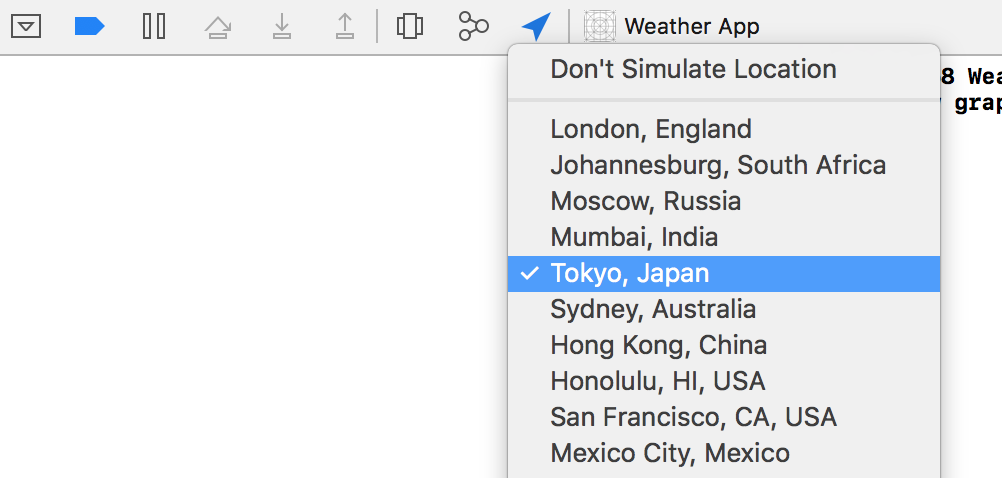
You can also set a custom location in Xcode above the output console. If you go back to the app and press the Refresh button, it should update.
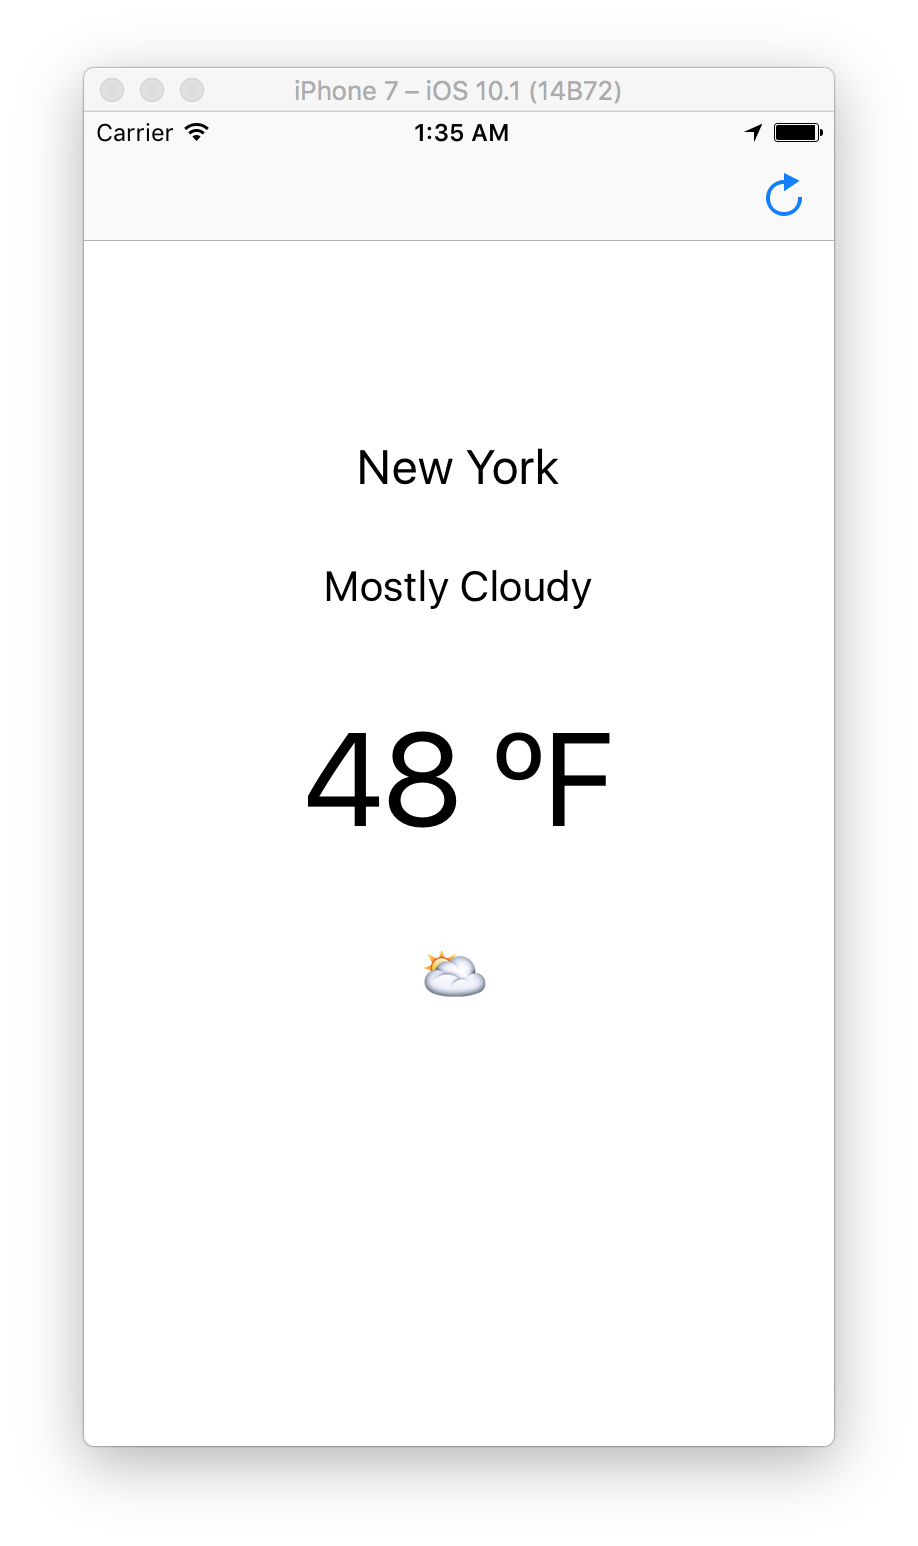
We can improve the UI, though. We can replace the icon label’s text with an emoji and reverse-geocode the user’s coordinates to get the city name.
Adding Emoji
Dark Sky gives back a set of icon names. This includes the clear-day text in the screenshot above. We can map these icon names to emoji using a custom dictionary:
let emojiIcons = [
    "clear-day" : "☀️",
    "clear-night" : "🌙",
    "rain" : "☔️",
    "snow" : "❄️",
    "sleet" : "🌨",
    "wind" : "🌬",
    "fog" : "🌫",
    "cloudy" : "☁️",
    "partly-cloudy-day" : "🌤",
    "partly-cloudy-night" : "🌥"
]
We can access emoji in the dictionary by doing stuff like emojiIcons["clear-day"] or emojiIcons["snow"]. When we try to access an item that isn’t in the dictionary, like emojiIcons["hurricane"], it’ll return nil.
Since it can return nil, this is a great place to use the nil-coalescing operator. We can update the icon label by doing self.weatherIcon.text = emojiIcons[data.icon] ?? "❓".
This gives us:
let emojiIcons = [
    ... //emojis go here
]

func updateLabels(with data: WeatherData) {
    self.temperature.text = data.temperature
    self.weatherDescription.text = data.description
    self.weatherIcon.text = emojiIcons[data.icon] ?? "❓"
}
Reverse Geoencoding
We can also use a CoreLocation function that will look up the city name for a given longitude / latitude pair. The function CLGeocoder().reverseGeocodeLocation gives us an optional list of “placemarks” through a completion handler. We can add this at the bottom of our updateLabels method:
CLGeocoder().reverseGeocodeLocation(location) { placemarks, error in
    let locationName = placemarks?.first?.locality ?? "Unknown Location"
    self.weatherLocation.text = locationName
}
Now when we run the app again, we see everything works as expected!
If you’re having trouble, you can take a look at a copy of the fully-completed View Controller.
And we’re all done!
That’s everything – you’ve built a fully-functional Weather App using CocoaPods, Alamofire, SwiftyJSON, and CoreLocation. All in a day’s work!


