Programming the logic for a calculator is time consuming and not really the focus of this tutorial. We have that covered for you.
Download this file and drop it in to your Xcode project: CalculationDelegate.swift.
Your project should look like this now:
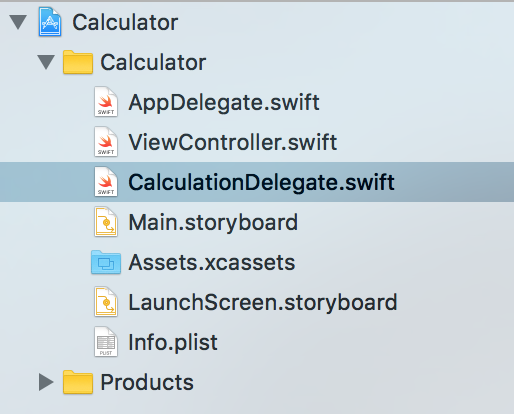
CalculationDelegate.swift
protocol CalculationDelegate {

    var previousExpressions: [(expression: String, result: String)] { get set }
    var currentOperator: Operator? { get set }

    var leftNumber: Double? { get set }
    var rightNumber: Double? { get set }
    var resultNumber: Double { get }

    var expressionString: String { get }

    func handleInput(_ number: Int)
    func setOperator(_ newOperator: Operator)
    func clearInputAndSave(_ save: Bool)

}

protocol Operator {

    var character: String { get }
    var operate: (Double, Double) -> Double { get }
    init(forCharacter character: String, withFunction: @escaping (Double, Double) -> Double)

}
CalculationDelegate is a protocol that contains all of the necessary function headers for the logic to our calculator. Functions like handleInput and setOperator don’t actually do anything yet, but it’s a blueprint of how a Calculation Delegate should behave.
So what is a delegate?
A delegate is a common concept throughout UIKit (the UI framework that things like UIButton and UIViewController are named for). They’re basically just a class that another class delegates responsibility to.
Another delegate we already have is the AppDelegate.swift, which is a UIApplicationDelegate. The UIApplication tells the delegate things like applicationDidEnterForeground, prompting the delegate to perform some action. We’ll be doing the same thing here. Our ViewController will receive button events and then tell our delegate things like setOperator and handleInput.
CalculationDelegate.swift
CalculationDelegate is only a protocol, so it needs to be implemented with actual logic. This tutorial doesn’t assume any experience with programming in Swift, or programming in general, so that implementation is taken care of in DefaultCalculationDelegate. It contains the ~100 lines of source code necessary to get functional calculator logic.
*If you’re up to the challenge, you can implement CalculationDelegate in your own class and program that logic on your own. It might be a good idea to finish the next few sections of the tutorial first, just so you can get a good picture of how the delegate is being called. Then you can go crazy and have a good time.
Adding a CalculationDelegate to our ViewController
Whether you’re using the DefaultCalculationDelegate or your own custom implementation, we need to add it to our ViewController as an instance variable. Add this line above the @IBOutlet for your resultLabel:
let calculations: CalculationDelegate = DefaultCalculationDelegate()
Now you’re ready to harness the power of the CalculationDelegate throughout the ViewController.
Recap
Delegates allow classes to pass on information, allowing the delegate to perform some behavior.
Next Time
We will use the CalculationProtocol to add actual behavior to our 16 buttons (the fun part).


