In Part 2, we set up your Table View. It fills the entire screen, but it doesn’t have any content yet. We need to add a custom Table View Cell.
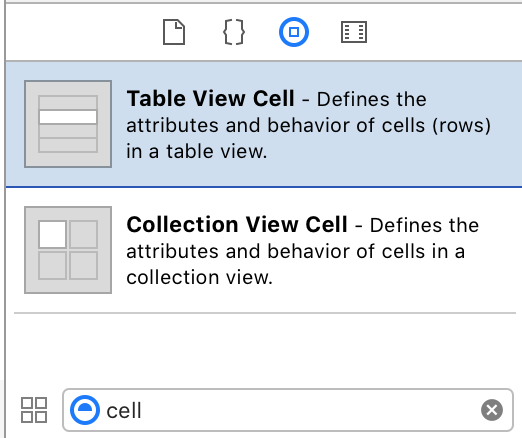
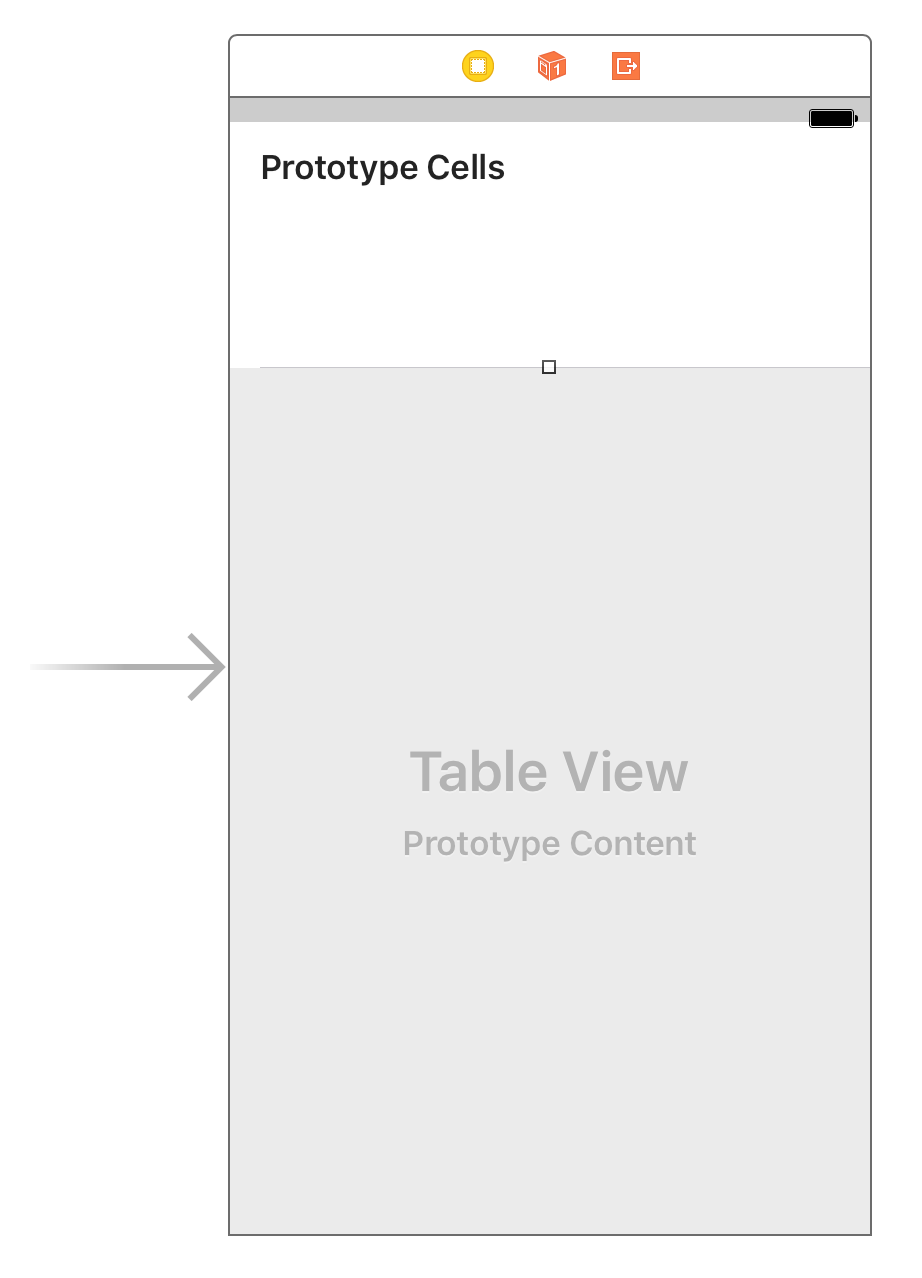
You can search for cell and drag a Table View Cell onto the table. You can resize the cell by clicking on it and draging the little nub. You should see something like this now:
Reuse Identifier
To actually use the cell, you have to set the Reuse Identifier. This is how you’ll reference the cell from your code later on. To set it, select the cell and open the Attributes Inspector.
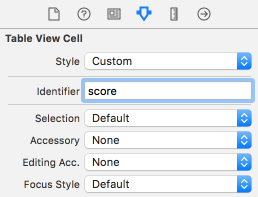
You need to set the Reuse identifier to some meaningful name. The name itself doesn’t matter as long as you remember it for later.
Adding a label
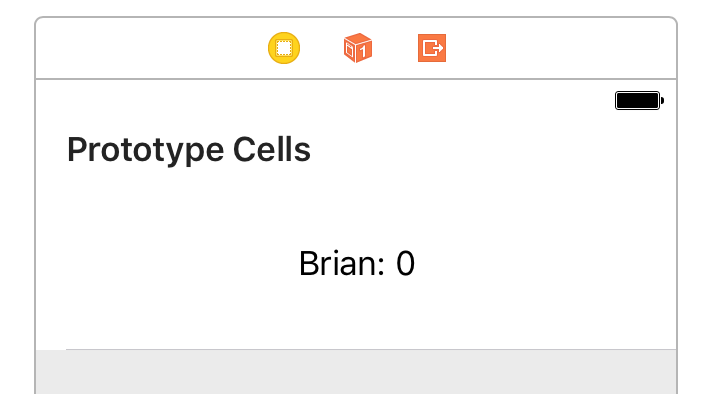
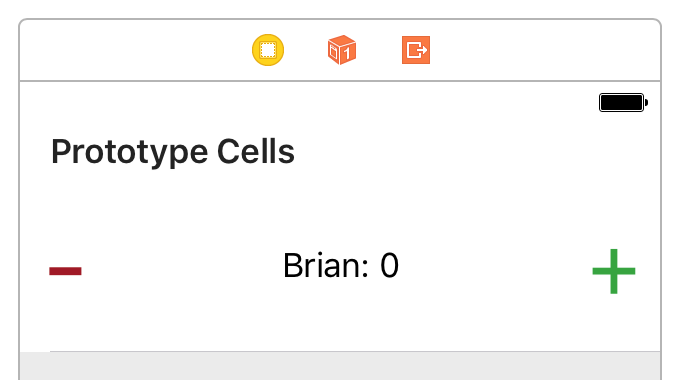
If we’re gonna keep track of scores, then we need a label that shows a person’s name and their score. Drop a Label in the center of the cell and give it some text.
Like we constrained the Table View, we also need to constrain this label. The same constraints won’t work, though, because we want this label to stay in the center of the cell.
We can add constraints for that relationship by clicking the second button, called the Align button.
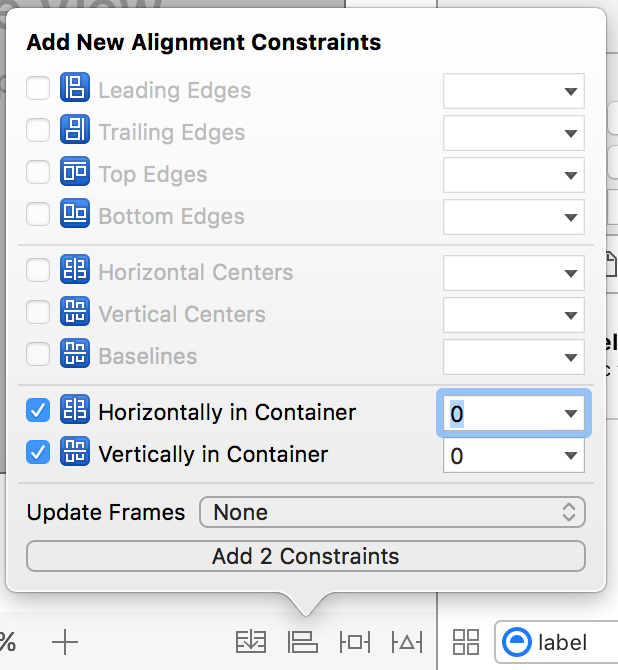
You want to select Align Horizontally in Container and Align Vertically in Container. This will tell the label to always sit in the middle of the cell. Click the Add 2 Constraints button and update your frames (⌘⌥=) if necessary.
Instrinsic size
In Part 1, we covered that constraints must define a view’s origin (position) and size. The constraints for this label define its position, but they don’t say anything about the its size. This is because the label has an intrinsic size determined by its content. In this case, Interface Builder knows how big the text “Brian: 0” should be when rendered in 17 point font. We can override this intrinsic size with our own constraints if we want, but it isn’t necessary for this example.
Adding buttons
We also need a way for the user to change the score. A plus and minus button on either side should do the trick. Drop in two buttons and customize them to your heart’s content:
As usual, we need to set up some constraints. These buttons are pinned to the left / right edges, but are centered vertically in the cell. These buttons have an intrinsic size too, so no need to worry about setting size constraints.
The constraints are left as an exercise to the reader. (Answers)
Recap
We made a custom Table View Cell that uses constraints and intrinsic sizes to position its subviews.
Next Time
We’ll start writing some code to make the Table View actually do something.


