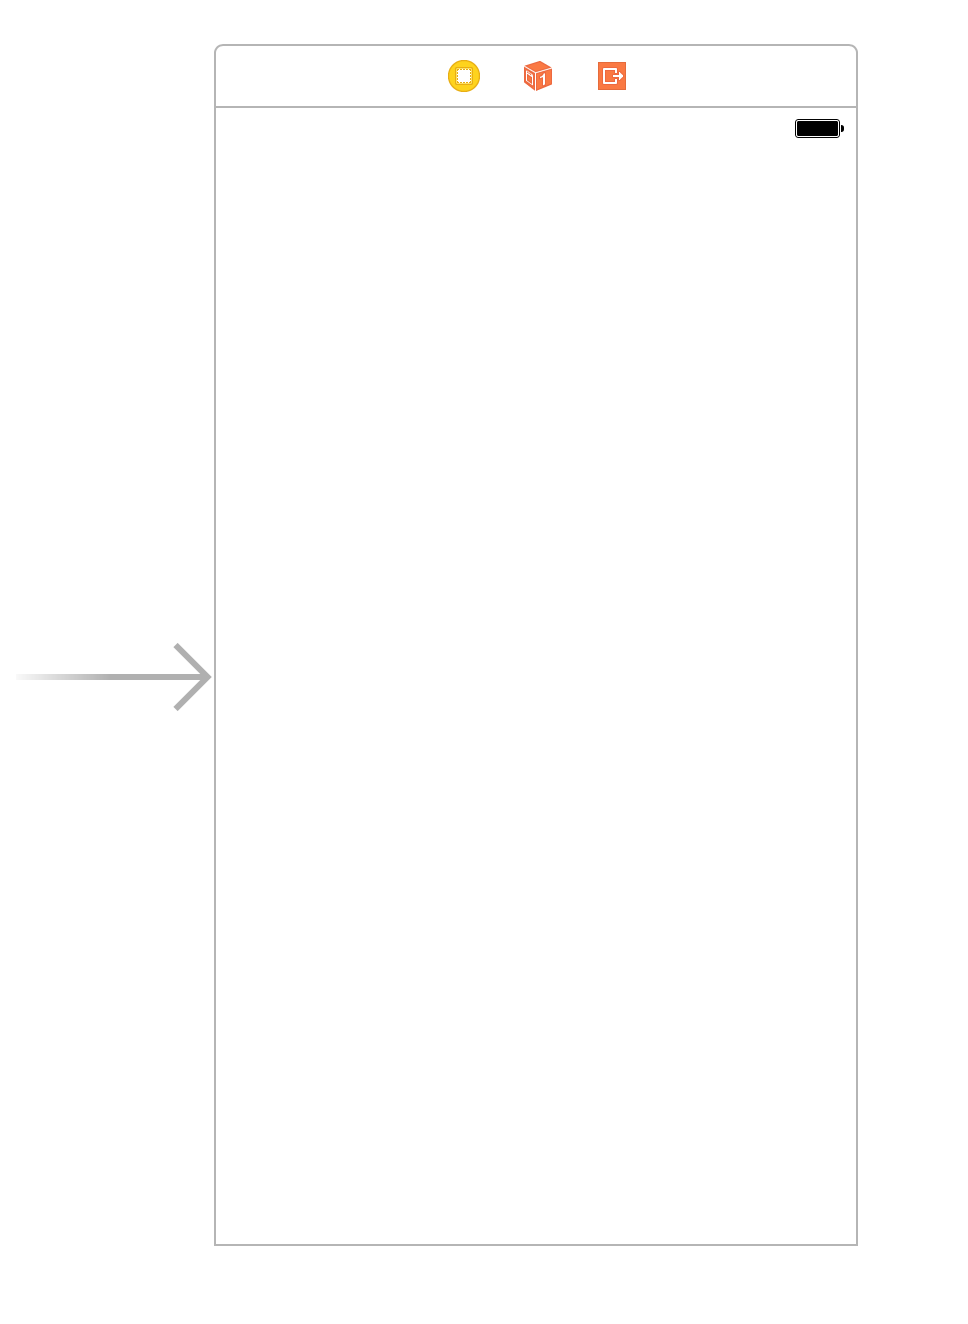
Open your Main.storyboard. We start with a blank canvas:
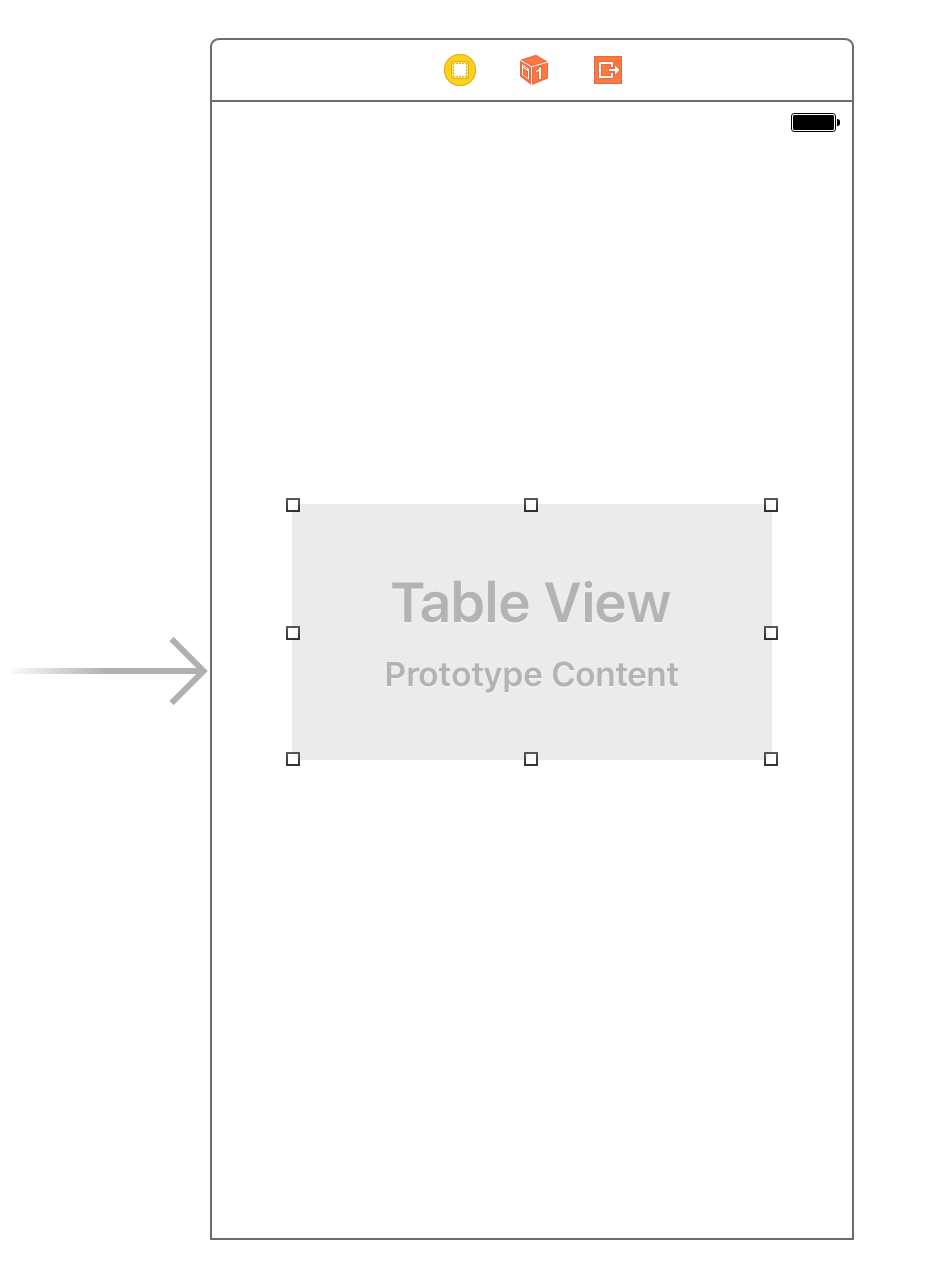
We want the app to have one big Table View that takes up the entire screen. Search for table view in the UI Palette and drag one to the center of the canvas.

Constraining the Table View
We want the table view to fill the entire screen at all times. We could just drag the corners of the view to match the size and shape of the canvas, but that doesn’t work if the screen itself changes size. To make an app that works on all different iPhone sizes, we need to use Autolayout Constraints.
The goal of Autolayout Constraints are to establish a set of relationships that define where a view should be on screen (its origin) and how big it should be (its size). Together, the origin and size of a view create its frame.
If you want an in-depth explanation of how constraints work, take a look at Part 4 of our Calculator Tutorial.
We want the Table View to fill the entire screen. One way to represent this relationship is by setting the top, bottom, left, and right sides of the Table View to be zero pixels away from the edges of the screen.
Adding the constraints
At the bottom-right corner of Interface Builder, there’s four small buttons. These buttons allow you to create constraints for the view you have selected.

Select the Table View, and then click the third button. This button is sometimes called the “tie-fighter”, but Xcode calls it the Pin button.

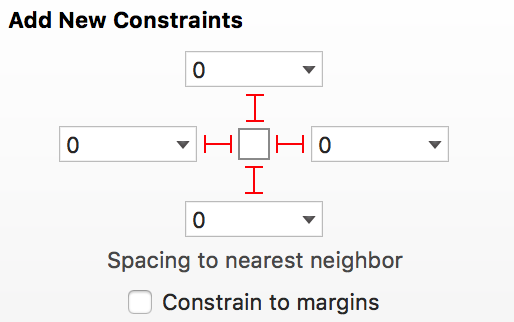
This popup contains some great tools for setting constraints. We’ll specifically use the top portion, which lets you define the view’s margins. For example, setting the top margin to be 0 means that the view should be 0 pixels away from the view above it.
“Constrain to margins”
On iOS, individual screens have margins. These margins help keep content from being too close to the edge of the screen. This is especially important for text:
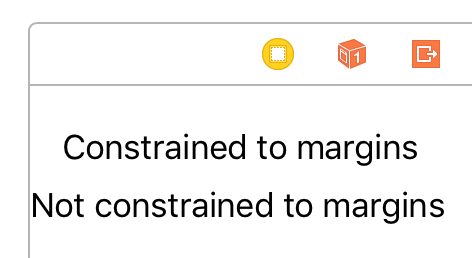
When a piece of text isn’t constrained to the margins, it becomes unpleasant to look at and more difficult to read.
Unlike text, though, we actually want our Table View to sit at the very edge of the screen. To do this, we deselect the Constrain to margins option.
This is the setup we want:
Go ahead and click the button that says Add 4 Constraints.
Updating the frame
Now you should see these orange lines and a dotted line around the edge of the screen.
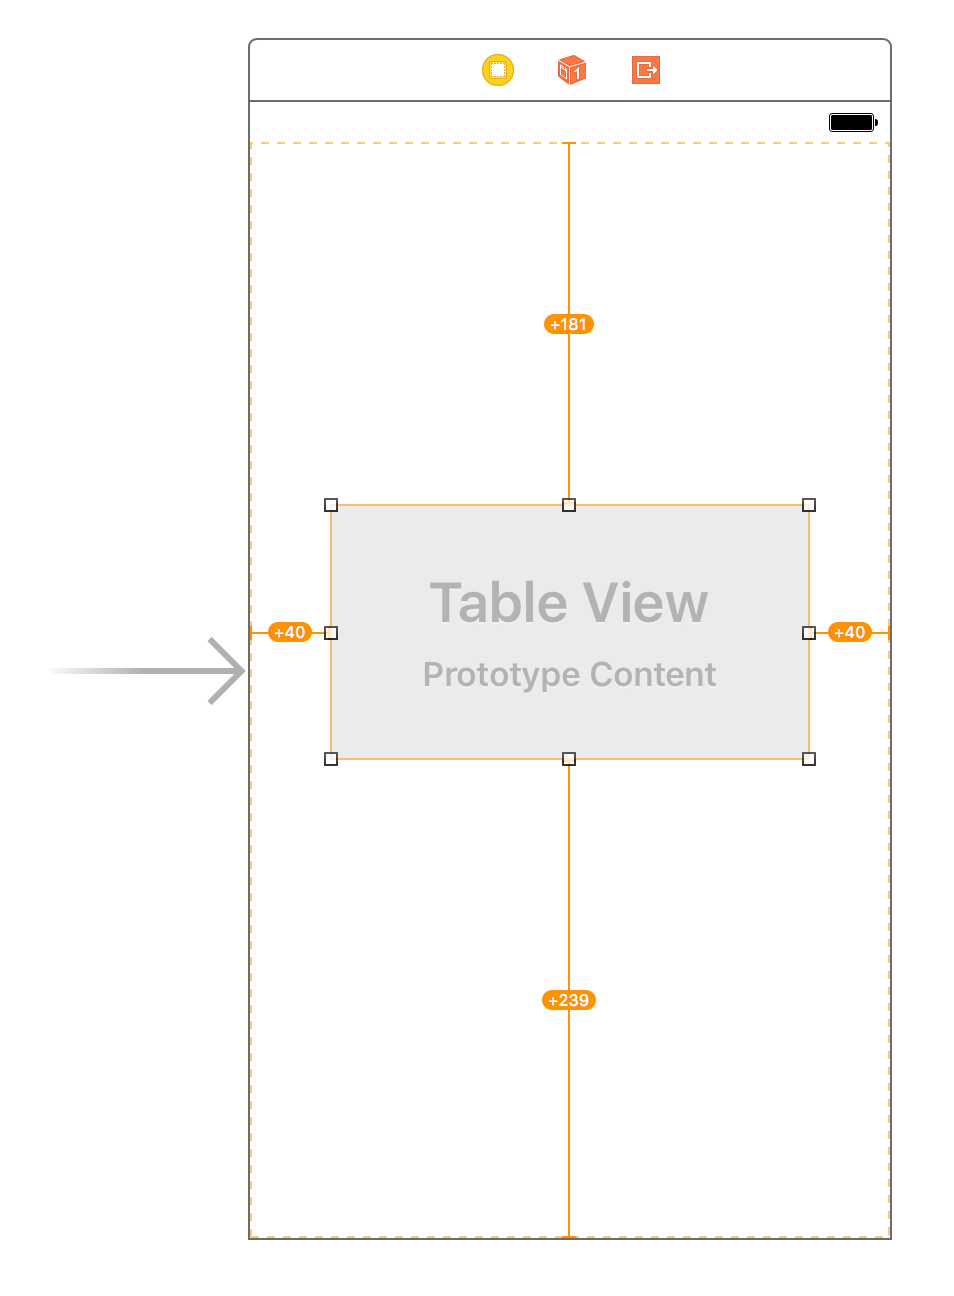
The dotted line around the edge of the canvas is the frame of your view as defined by your constraints. Xcode shows you these orange lines when your view isn’t in the expected location. To have the Table View update its frame and move to the expected location, you can use the Update frames command. You can do this through the key-command ⌘⌥= (command-option-equals), or through the menu via Editor > Resolve Auto Layout Issues > Selected View, Update Frames.
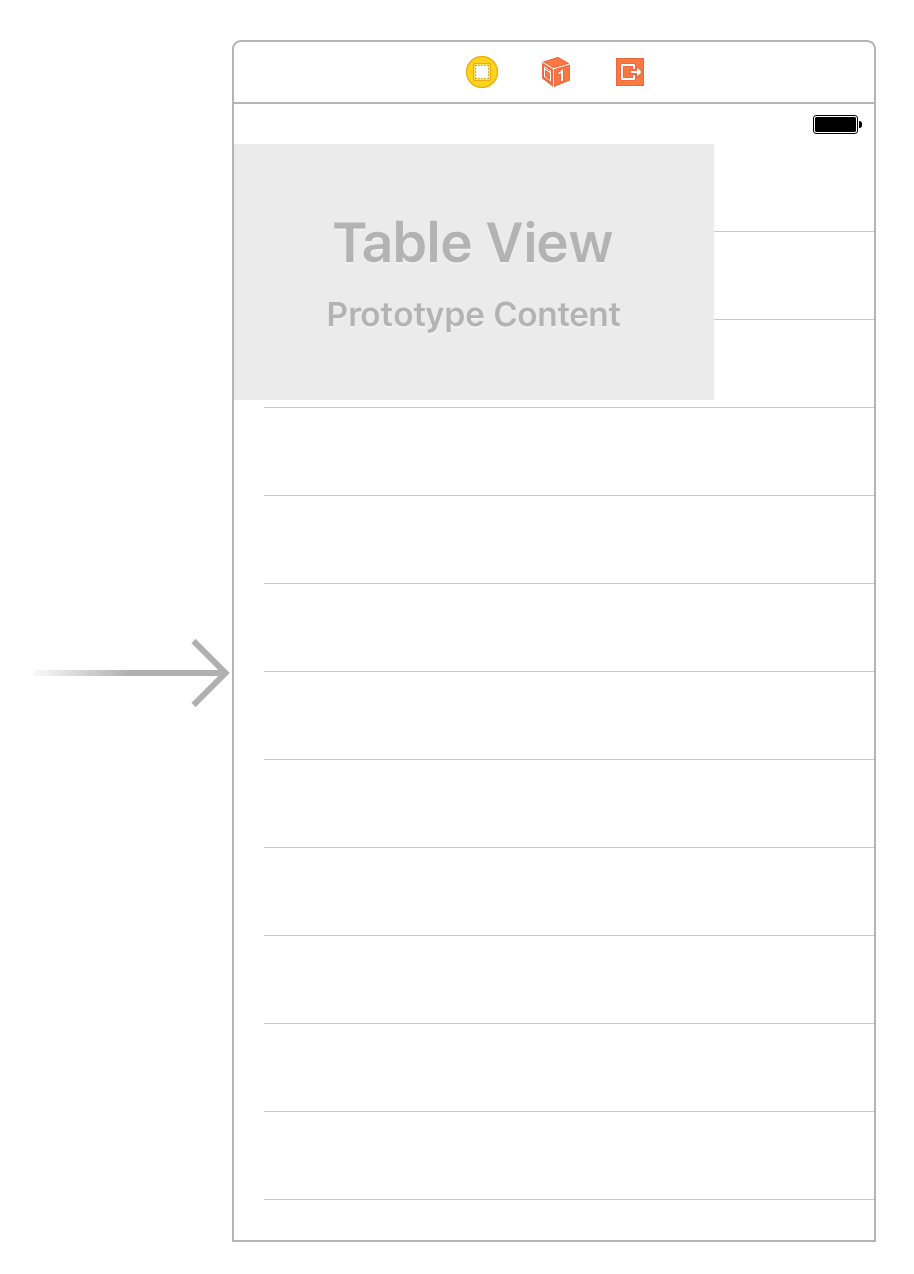
The Table View should snap into place:
Recap
We set up our Table View and constrained it to fill the screen. We discussed Autolayout Constraints and the purpose of Constrain to margins.
Next Time
We’ll create a custom Cell for our Table View.


