Open the project folder in Finder, and you’ll see that CocoaPods created a new Weather App.xcworkspace file and a Pods folder in which to store all the project’s dependencies. From now on we will be using this workspace and not our Weather App.xcodeproj.
Go ahead and close the project file and open the workspace. Make sure to press Later if you’re asked to convert to current Swift syntax. Make sure everything is working by building your project (⌘B). If it fails, double-check that you opened the xcworkspace and not the xcodeproj.
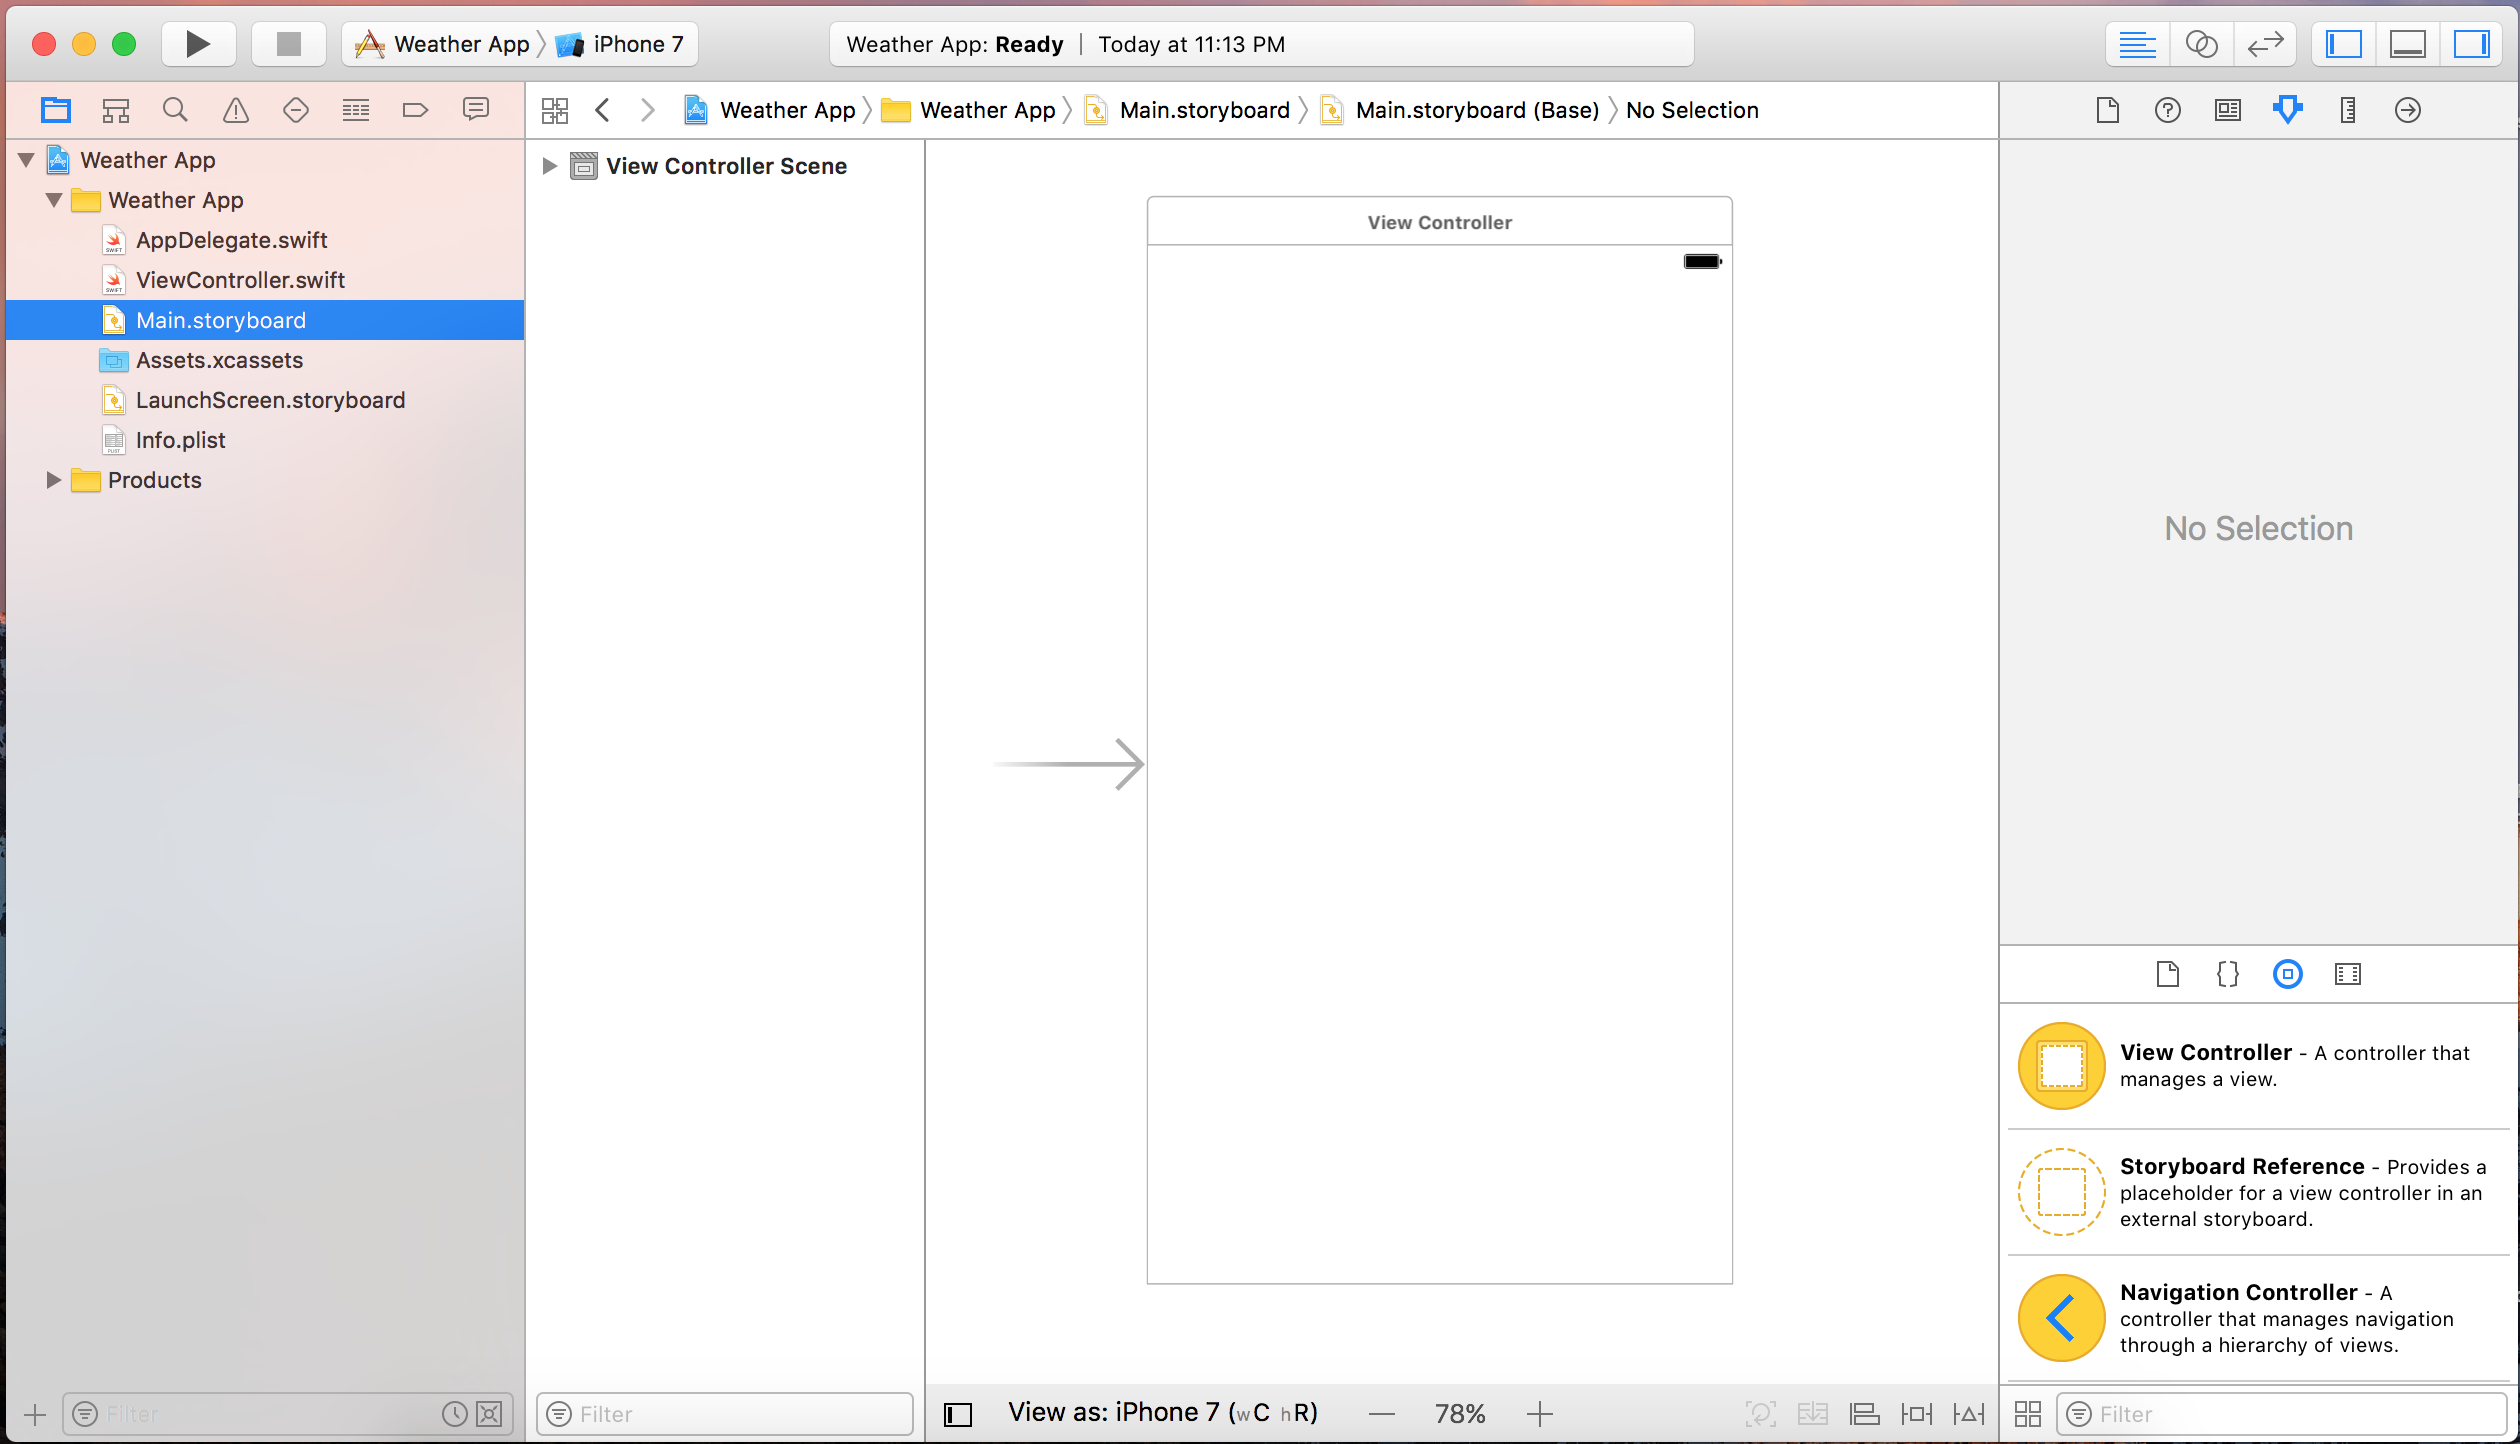
Interface Builder
Interface builder is Xcode’s GUI editor. For most projects, the interface is contained in the Main.storyboard file. Open it up and have a look around:
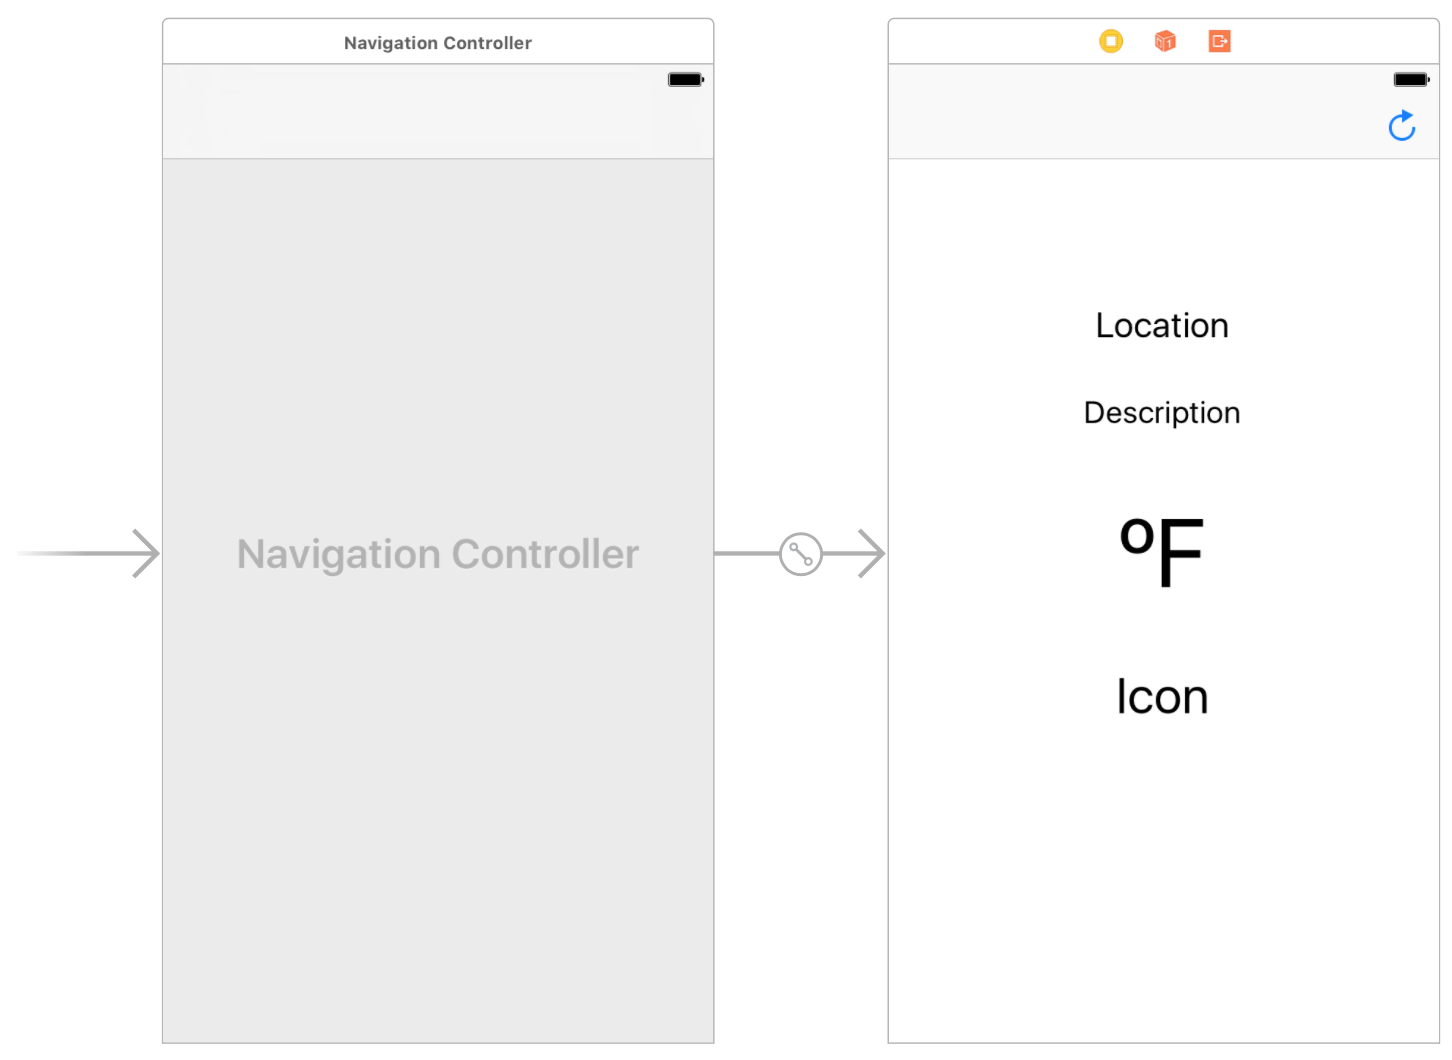
For this Weather app, there are 5 parts in the interface we’re building:
- A label to display the location
- A label to display a description of the weather
- A label to display the temperature
- A label to display an Emoji icon
- A bar button item to refresh the weather forecast
Adding UI Elements
We want to use a Navigation Bar style so we can add a refresh button in the top bar. We want to embed our current View Controller in a Navigation Controller. Select the View Controller by clicking the white bar with the three icons. Then click Editor-> Embed in -> Navigation Controller.
You also want to add the 5 elements described above as well as the necessary constraints to your storyboard. You should have a result similar to this:
You can enter the degrees sign with Option-K. If you don’t know how to work with Autolayout constraints, you can just move on. If you want to come back to it later, our Calculator Tutorial is a good resource to learn more about Autolayout.
WeatherViewController
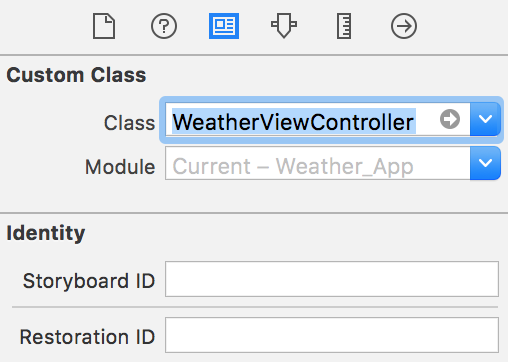
In order to provide functionality to the app, there must be a way to connect the labels and bar button item to actual code. The view controller displayed in front of you is automatically connected to a file called ViewController.swift. We want a file with a more meaningful name, so you can go ahead and delete ViewController.swift and then create a new Swift file named WeatherViewController.swift. Make sure this new file is a subclass of UIViewController. Your new class should have the following code:
import UIKit

class WeatherViewController: UIViewController {

}
After your WeatherViewController.swift file is done, make sure your view controller is connected to this new file. To do this, go back to the storyboard and select the View Controller. On the Inspector pane to the right, select the Identity Inspector menu, and make sure the View Controller’s class is WeatherViewController.
Label and Button Linking
Now, let’s start with linking the labels and button in our view controller to the actual Swift code. In order to do this, we will use the usual control-click and drag method. Do this to link your labels as IBOutlets and your button as an IBAction. Use the same variable/function names as in the code below:
class WeatherViewController: UIViewController {

    @IBOutlet weak var weatherLocation: UILabel!
    @IBOutlet weak var weatherDescription: UILabel!
    @IBOutlet weak var temperature: UILabel!
    @IBOutlet weak var weatherIcon: UILabel!


    @IBAction func refreshButtonPressed(_ sender: UIBarButtonItem) {
        print("Refresh!")
    }
}
Next Time
Awesome! Now we have added connections for both the labels and the bar button item to Swift code. In the next parts, we will be using the Dark Sky API to obtain weather data and show it in our newly created UI!


