Now that we have a Table View set up in Interface Builder, we need to tell it how to behave. The Table View has a custom Cell, but it doesn’t know how many cells to show or what content to put in those cells.
Enter UITableViewDelegate and UITableViewDataSource
UITableViewDelegate and UITableViewDataSource are two delegate protocols that let us tell the table view how to behave. Delegates allow an object to delegate responsibility and decision-making to other parts of your app. For example, the Table View doesn’t know how many rows it should have. It will ask “Hey, how many rows should I have?” and your app will say “You should have 3 rows.”
Conforming to UITableViewDelegate and UITableViewDataSource
We need to create a delegate that we can give to the Table View. It’s common practice to have the UIViewController double as your delegate, so go ahead and open your ViewController.swift
UITableViewDelegate and UITableViewDataSource are two protocols that we want our ViewController to implement. (If you’re more familiar with Java, think along the lines of implementing an Interface). Go ahead and add the protocols to the class declaration:
class ViewController: UIViewController, UITableViewDelegate, UITableViewDataSource {

    // Xcode autogenerates some boilerplate code for you here,
    // but you can go ahead and delete it if you want.

}
You should start seeing some compile errors because ViewController does not conform to the protocol yet. We need to implement the protocol’s required methods.
How many rows do we want?
One of the protocol’s required methods is tableView(_, numberOfRowsInSection). Before we can tell the table views how many rows it should have, we need to decide that for ourselves.
It’s pretty typical to back a Table View by a data structure like an Array or a Dictionary. A Dictionary makes sense in this context, because we can use the person’s name and their current score as the key/value pair.
var scores = ["Cal" : 0, "Brian" : 0, "Komal" : 0]
Why var?
Most declarations in Swift are written with the let keyword. This means they’re immutable and can never change once initialized. This allows for some great compiler optimizations, but isn’t always what we want.
Later, we’ll be mutating the scores dictionary by incrementing and decrementing people’s score values. We want to use a var declaration so that the dictionary will be mutable, or capable of changing.
numberOfRowsInSection
Now we know that the table view should have the same number of rows as there are entries in the scores dictionary:
func tableView(_ tableView: UITableView, numberOfRowsInSection section: Int) -> Int {
    return scores.count
}
cellForRowAtIndexPath
The Table View knows how many rows it should have, but it still needs to know what those individual rows are. In our case, we want all of the rows to be the score cell that we made in Interface Builder, but you could set it up so every row was a different type of cell.
The tableView(_, cellForRowAt indexPath) method is supposed to return an instance of UITableViewCell. We want to create an instance of the cell we designed earlier, so we need to dequeue a reusable cell with the score identifier.
func tableView(_ tableView: UITableView, cellForRowAt indexPath: IndexPath) -> UITableViewCell {
    return tableView.dequeueReusableCell(withIdentifier: "score", for: indexPath)
}
Reusable cells
Imagine quickly scrolling through a table view that has 1000 rows. If the table view had to initialize a new UITableViewCell every time a new one came on screen, it would spend a lot of processing time on allocating and deallocating memory for these temporary objects. Extra processing time is the enemy of smooth performance, and those wasted CPU cycles would start causing noticeable stuttering.
Instead, UITableView keeps a queue of cells that have already been initialized. When you call dequeueReusableCell, the Table View checks its queue. If it has extra cells that have moved off-screen, it reuses those cells. It only initializes a new object if absolutely necessary.
Checking our progress
Your View Controller class should look something like this:
class ViewController: UIViewController, UITableViewDelegate, UITableViewDataSource {

    var scores = ["Cal" : 0, "Brian" : 0, "Komal" : 0]

    func tableView(_ tableView: UITableView, numberOfRowsInSection section: Int) -> Int {
        return scores.count
    }

    func tableView(_ tableView: UITableView, cellForRowAt indexPath: IndexPath) -> UITableViewCell {
        return tableView.dequeueReusableCell(withIdentifier: "score", for: indexPath)
    }

}
But if you run the app in the simulator, you’ll see nothing but an empty Table View:
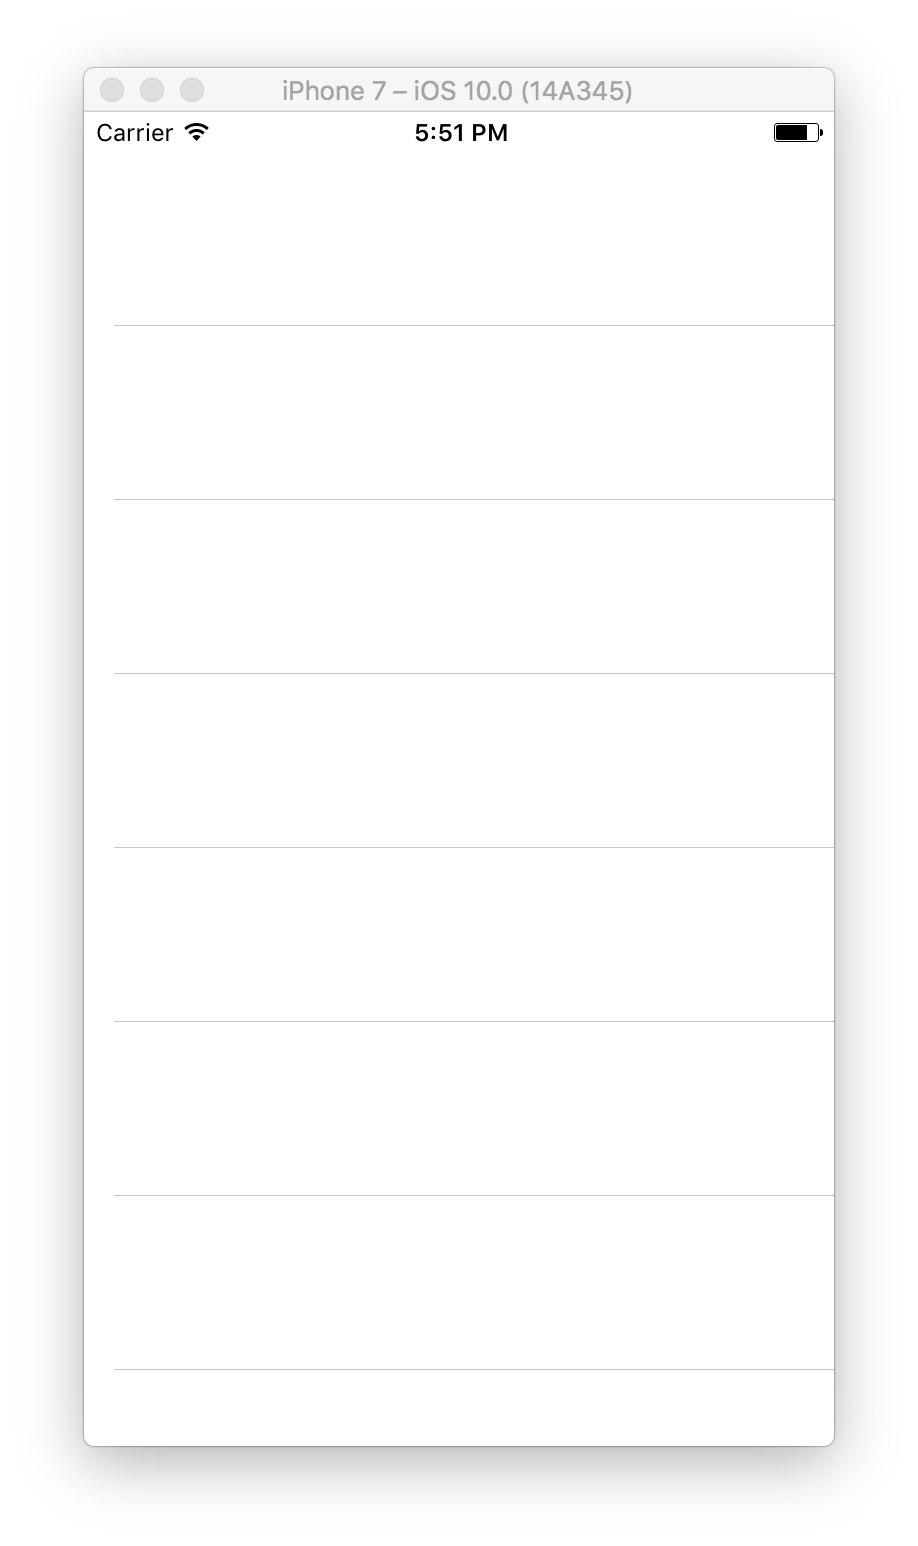
Even though we’ve turned our ViewController into a UITableViewDelegate and UITableViewDataSource, we haven’t told the Table View to use that controller as its delegate.
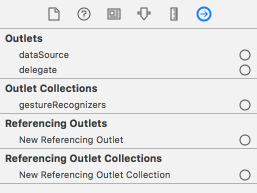
Open up the Main.storyboard again, and select the Table View. Open the Connections Inspector, and you should see these outlets for dataSource and delegate:
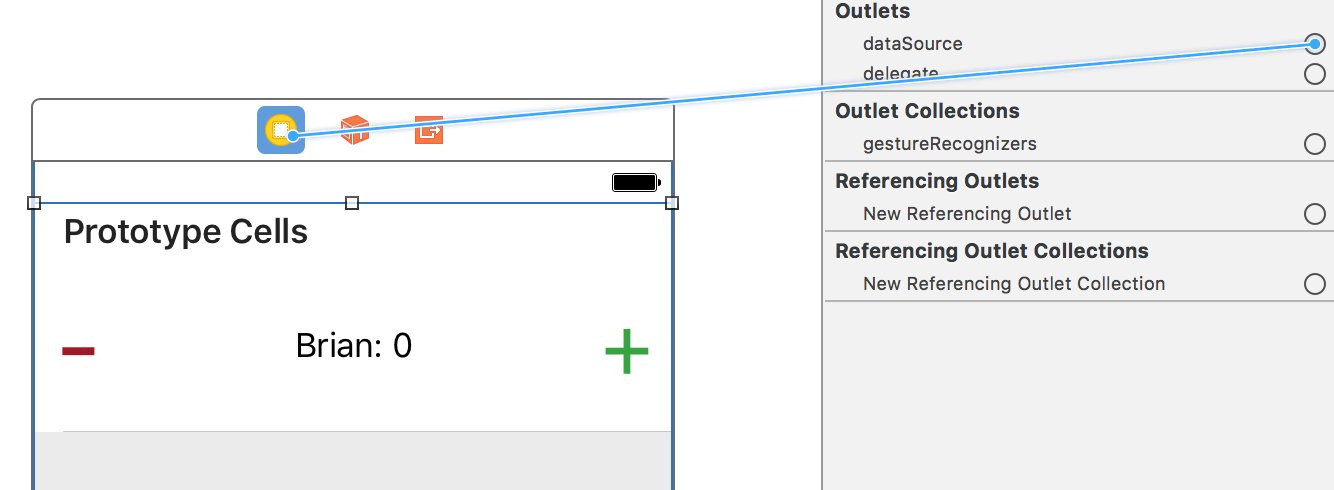
We need to connect the View Controller to these outlets. You can do that by dragging from the circles on the right to the little yellow circle at the top of the canvas.
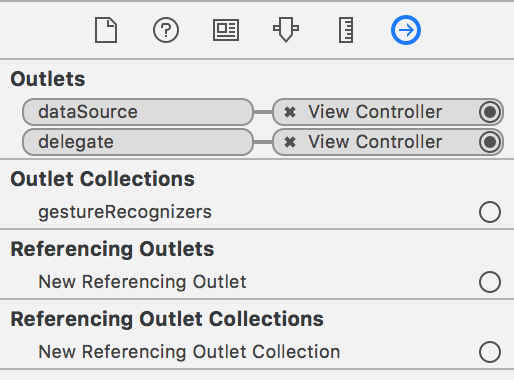
You should have both of them set to the View Controller:
If you run the app in the simulator again, you should actually see some content:
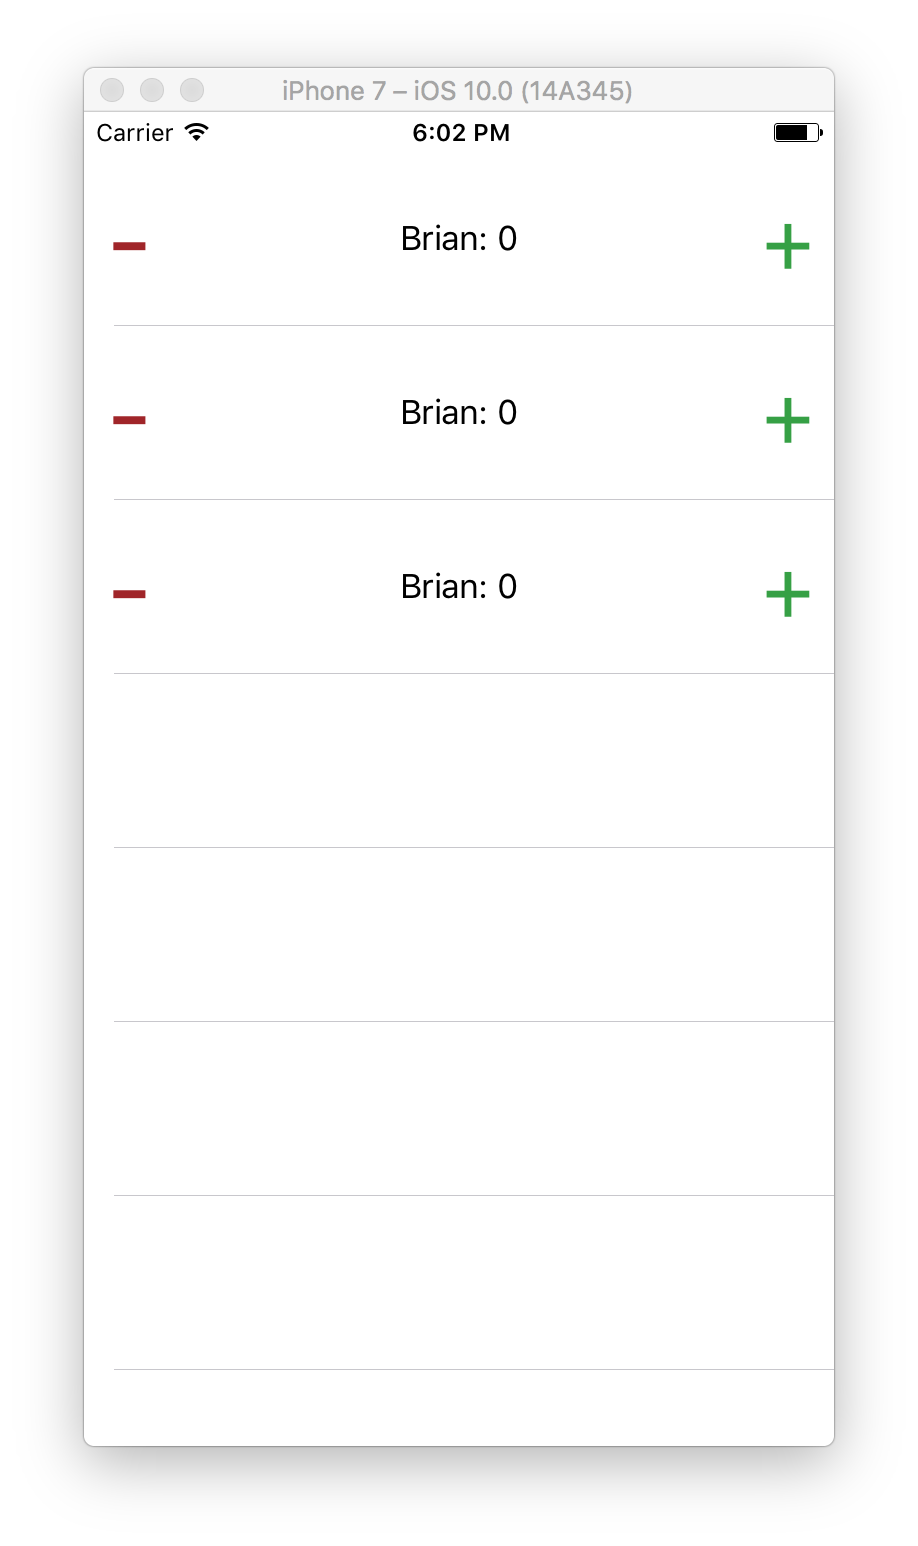
Why are they all the same?
The Table View is loading some score cells and displaying them, but we aren’t telling it how to render the cell. Right now it’s just displaying whatever we have in Interface Builder. We want to populate each row with a different person from the scores dictionary, but that’ll take a little more work.
Recap
We implemented our UITableViewDelegate / UITableViewDataSource. We covered UITableView’s optimization strategy and got our custom Cell to start appearing on screen.
Next Time
We’ll implement a custom class that subclasses UITableViewCell, allowing us to customize the content in each individual row.


