In the past 8 parts, you successfully built your first storyboard app! It works great (hopefully), but there’s still this big blank space at the top of the screen. Surprise, we’re gonna actually do something with that now.
Specifically, we’ll spend the rest of this tutorial adding a “paper tape” to our calculator using UITableView.
What is a paper tape?
In an old-style calculator for heavy accounting, expressions would get printed on a roll of tape as you worked so you would have a record of your calculations. It’s been a feature in digital calculators for a while, too.
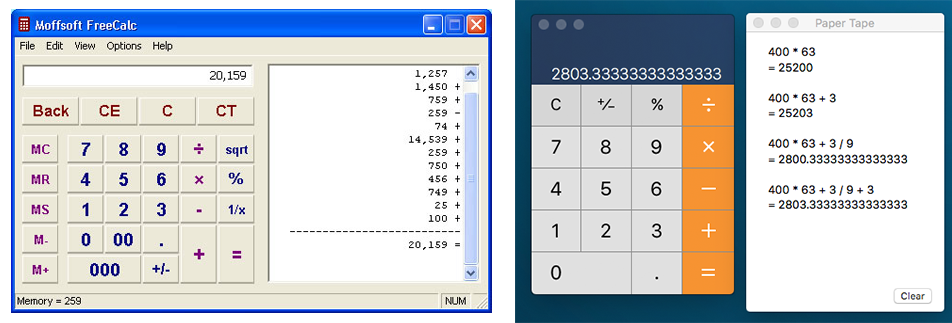
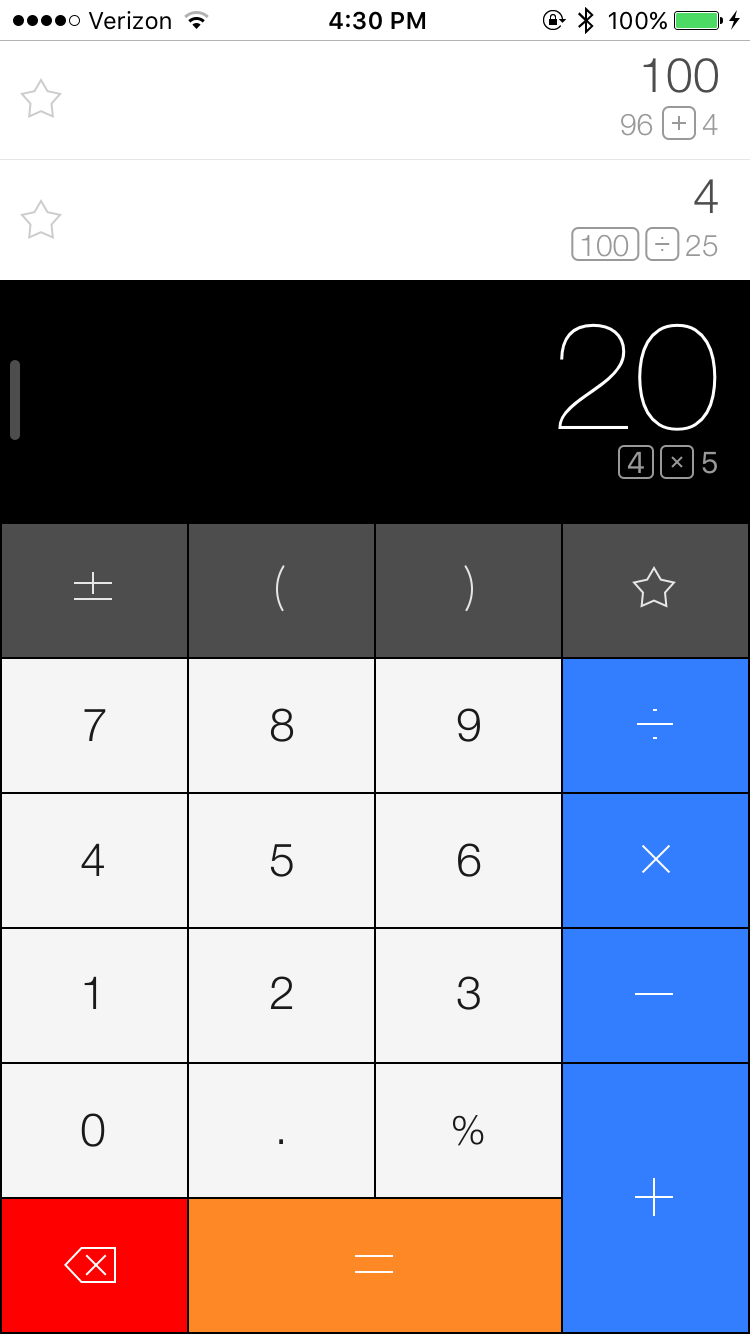
We’ll be implementing it in a similar style to the app Calcbot by Tapbots. It’s free on the App Store, and a very good example of how animations can improve the feel of an app, so definitely check it out.
What is a UITableView?
A Table View is a more advanced type of view. It has some number of rows, called cells. Every cell is a UITableViewCell, and contains the layout that will appear on screen. The UITableView also has a UITableViewDataSource and UITableViewDelegate that manage the table. This is really similar to the way our CalculationDelegate manages all of the calculations for us.
Lots of new terminology just got thrown at you, but I promise you’ll figure it all out. It’s makes sense once you understand how all of the pieces play together.
Adding the UITableView to our layout
Before we can do anything in the code, we have to make sure our Table View is set up properly in the storyboard. Open up Main.storyboard again and we’ll get started.
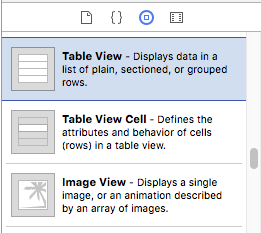
As usual, we look to the trusty UI Palette. Table View comes in around half way through the list.
We’re going to set up the constraints in one fell swoop, so we want to make sure we put it in the right place. Drag the Table View from the palette onto the canvas, and nestle it right in the bottom-right corner of the open space. The automatic guide-lines should be pretty helpful for this.
Adding Constraints
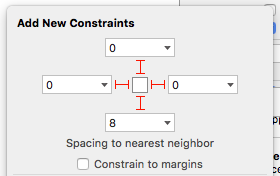
Before we add our constraints, let’s consider what we want:
- The Table View should align with the left and right edges of the screen
- The top of the Table View should be 0 points away from the bottom of the Status Bar
- The bottom of the Table View should be some number of points away from the top of the Result Label. This way there’s padding between the label and the table.
Lucky for us, all of this is easy for the Tie Fighter menu. Open it up, disable Constrain to margins, and set the values as you learned in Part 4.
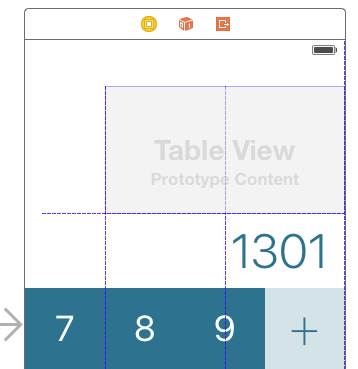
Now you probably have something that looks like this:
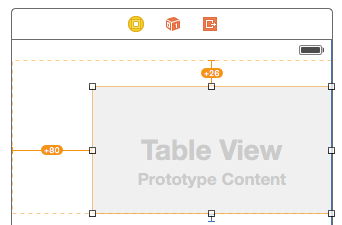
What’s with these orange lines?
The orange lines mean that the View is currently sitting in a different frame than the constraints think it should. Remember a frame is both the origin and the size of a view.
We need to tell the view to Update its Frames. This is something that you do pretty often once you start doing a lot of heavy lifting with Constraints, so it’s a good keystroke to learn:
⌘⌥= (also known as Command-Option-Equals)
Press those keys while the Table View is selected, and it should snap into place. As long as your constraints are set up correctly, this is what you should see:
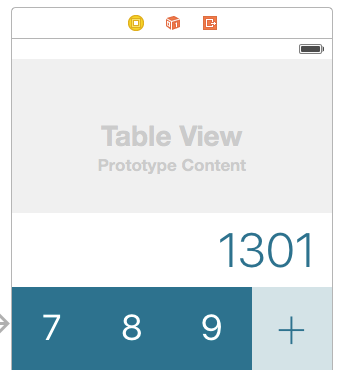
Looks good to me.
Recap
You learned about the UITableView and added one to your storyboard canvas.
Next Time
We add a custom cell to the Table View, with labels for the content of the paper tape.


