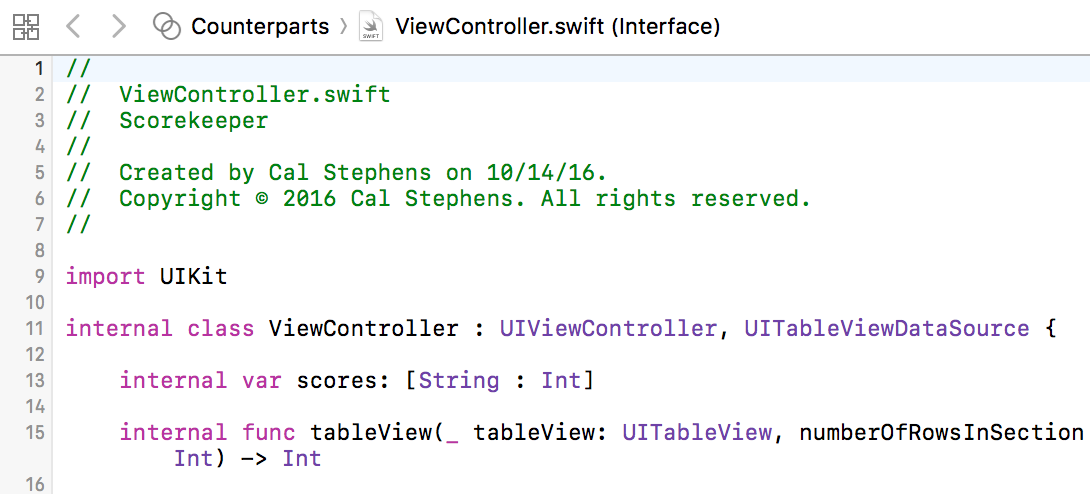
You may have noticed before, but the original class declaration of our ViewController was:
class ViewController : UIViewController {

}
This means that ViewController is a subclass of UIViewController. This allows us to add custom behavior to the view controller. Similarly, we want to create a subclass of UITableViewCell. Go ahead and add a new class declaration at the bottom of your ViewController.swift:
class ScoreCell : UITableViewCell {

}
Connecting @IBOutlets
To customize the text in the label, we need a reference to the label itself. You can do this through an @IBOutlet, which allows you to connect an object in Interface Builder to a variable in your code. This is done with the same drag-and-drop method as linking the dataSource and delegate, but this time between the code and the storyboard. We’ll need to see both at once.
Opening the Code and Storyboard side-by-side
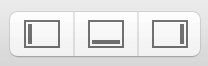
Xcode makes this pretty easy for us, because it’s a very common need. At the top-right corner, there are three buttons that control Xcode’s layout.
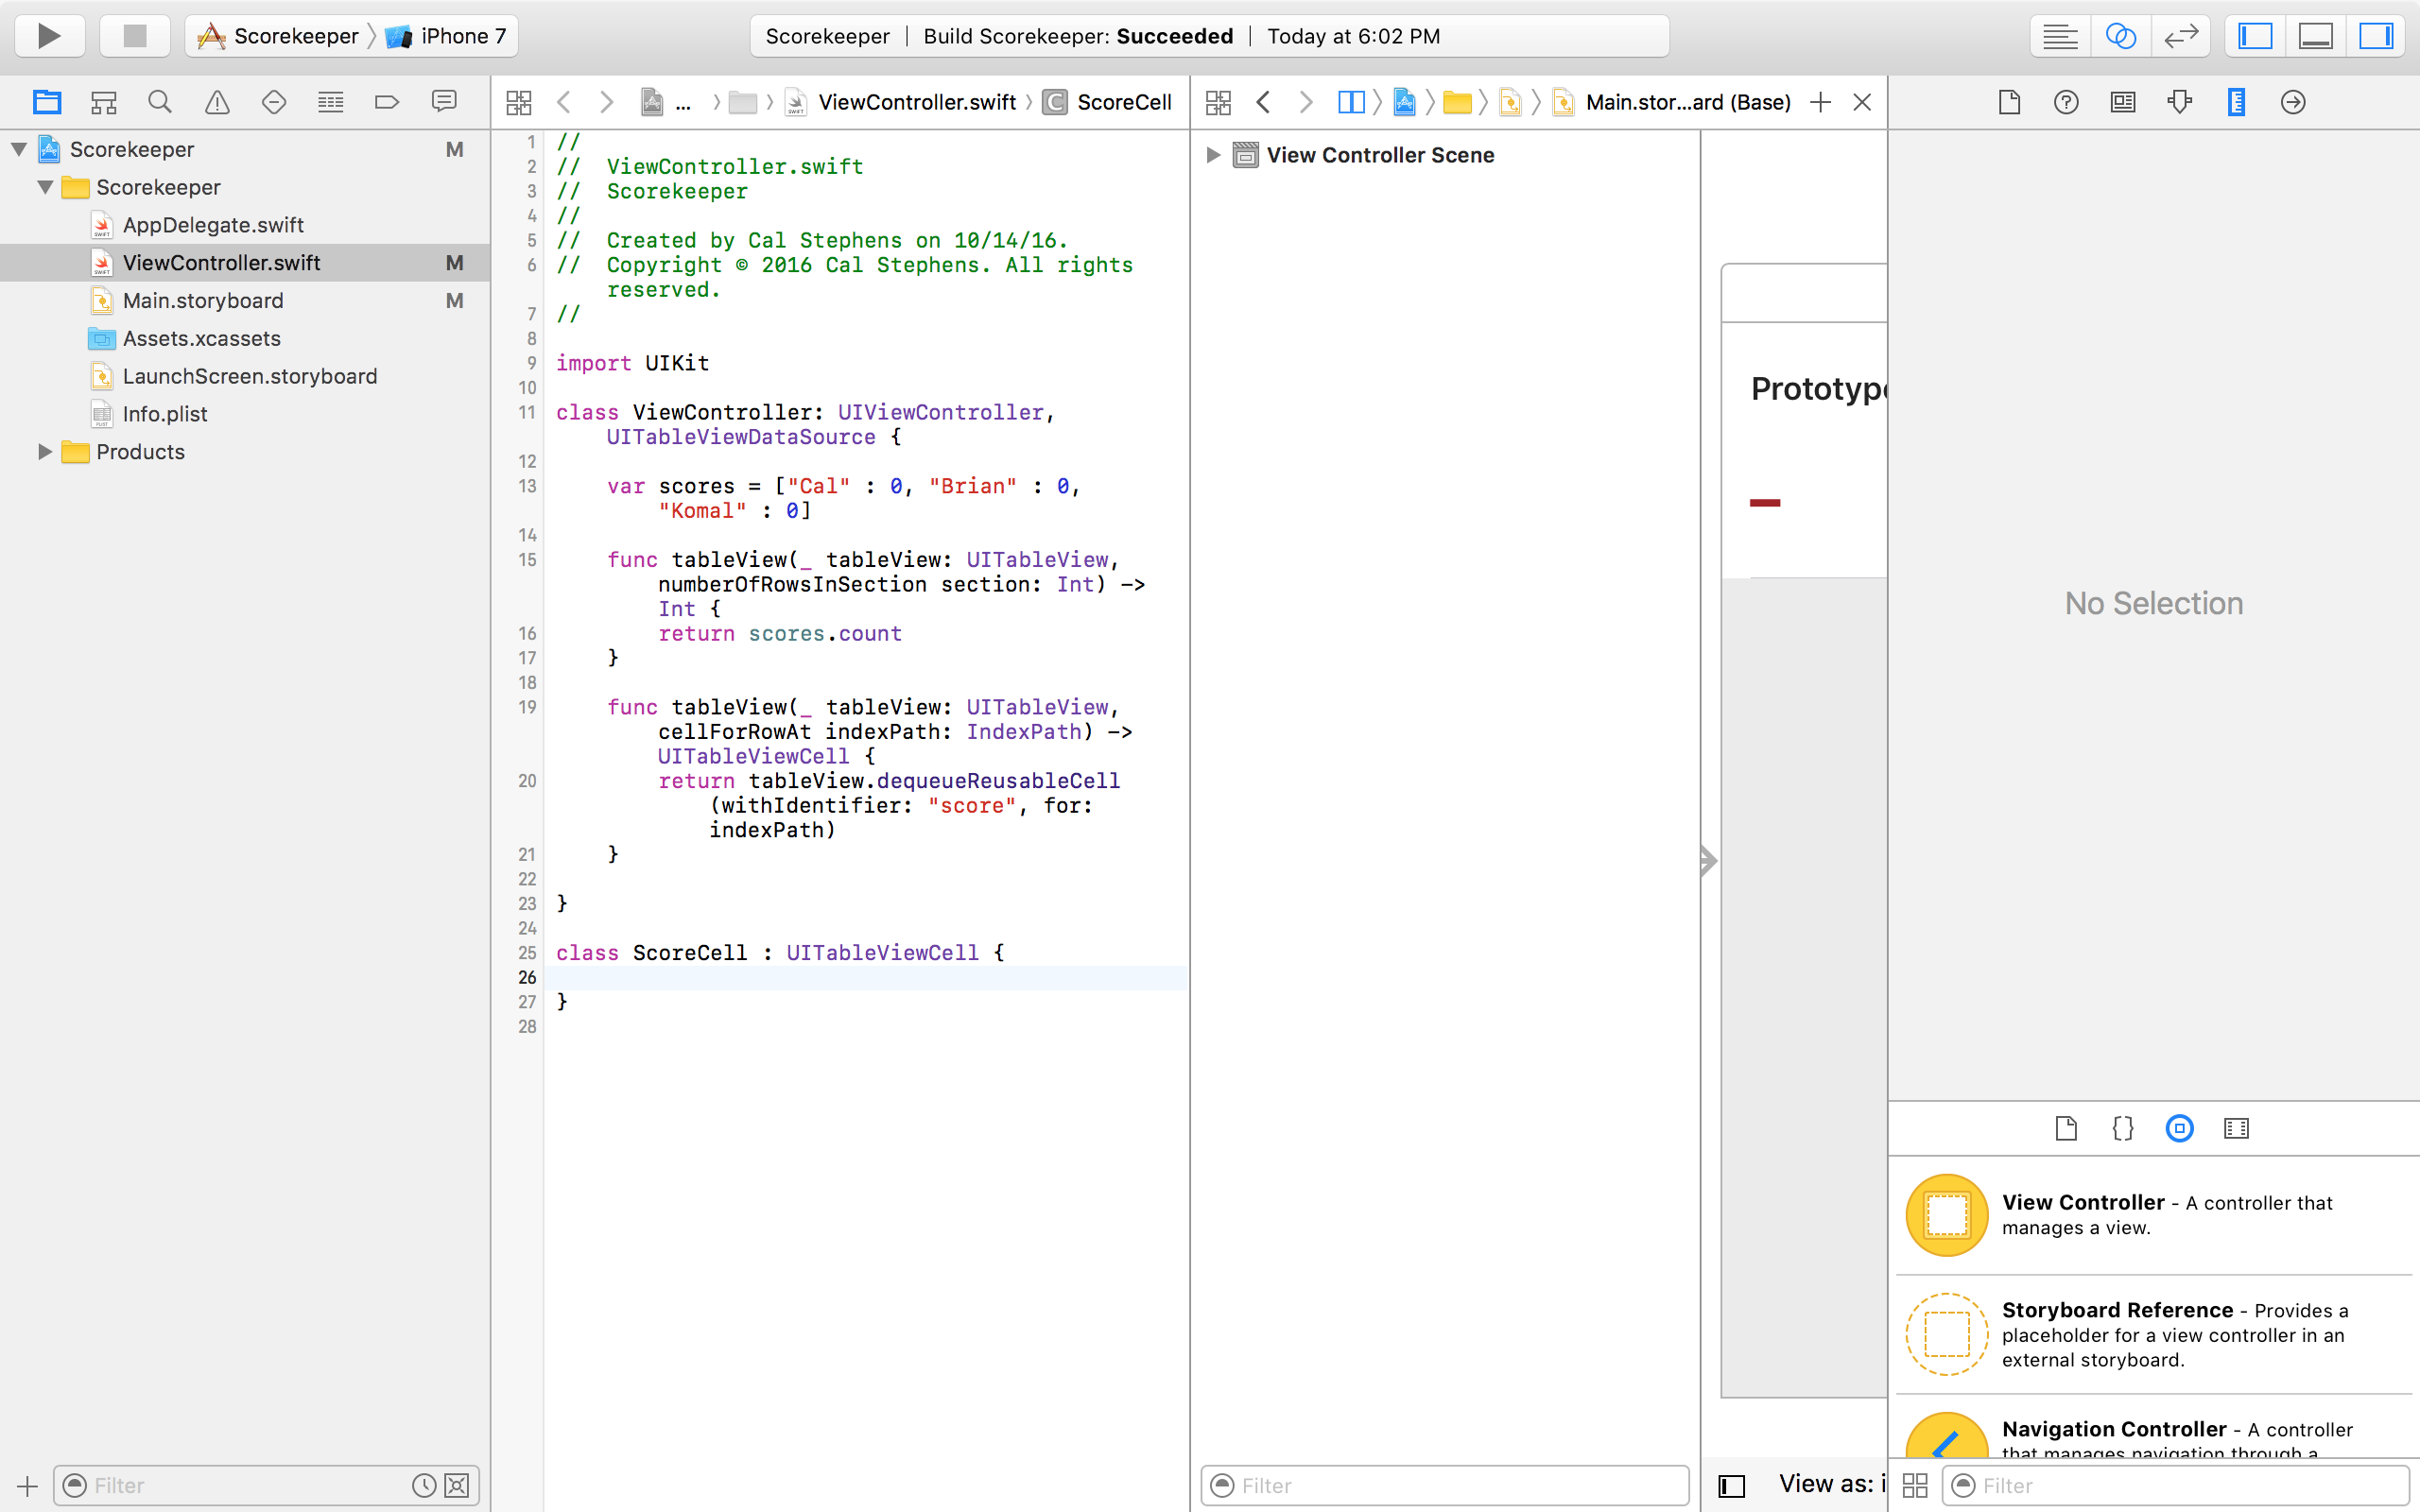
The center button lets you open up the Assistant editor, which is a second pane for viewing content. When you click it, you should see a second pane pop open.
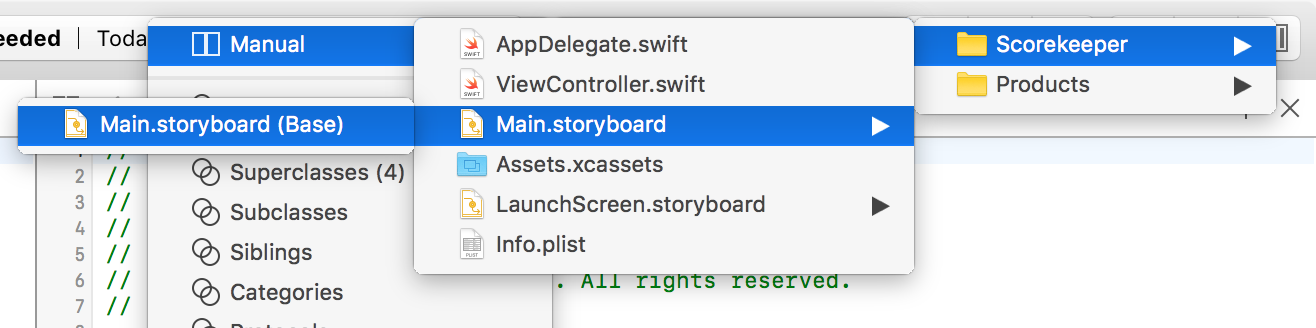
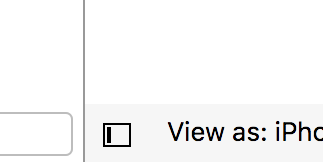
In this pane, you can click the button that says Counterparts to change what displays in the assistant editor. You want to navigate to Manual > Scorekeeper > Scorekeeper > Main.storyboard > Main.storyboard (base).
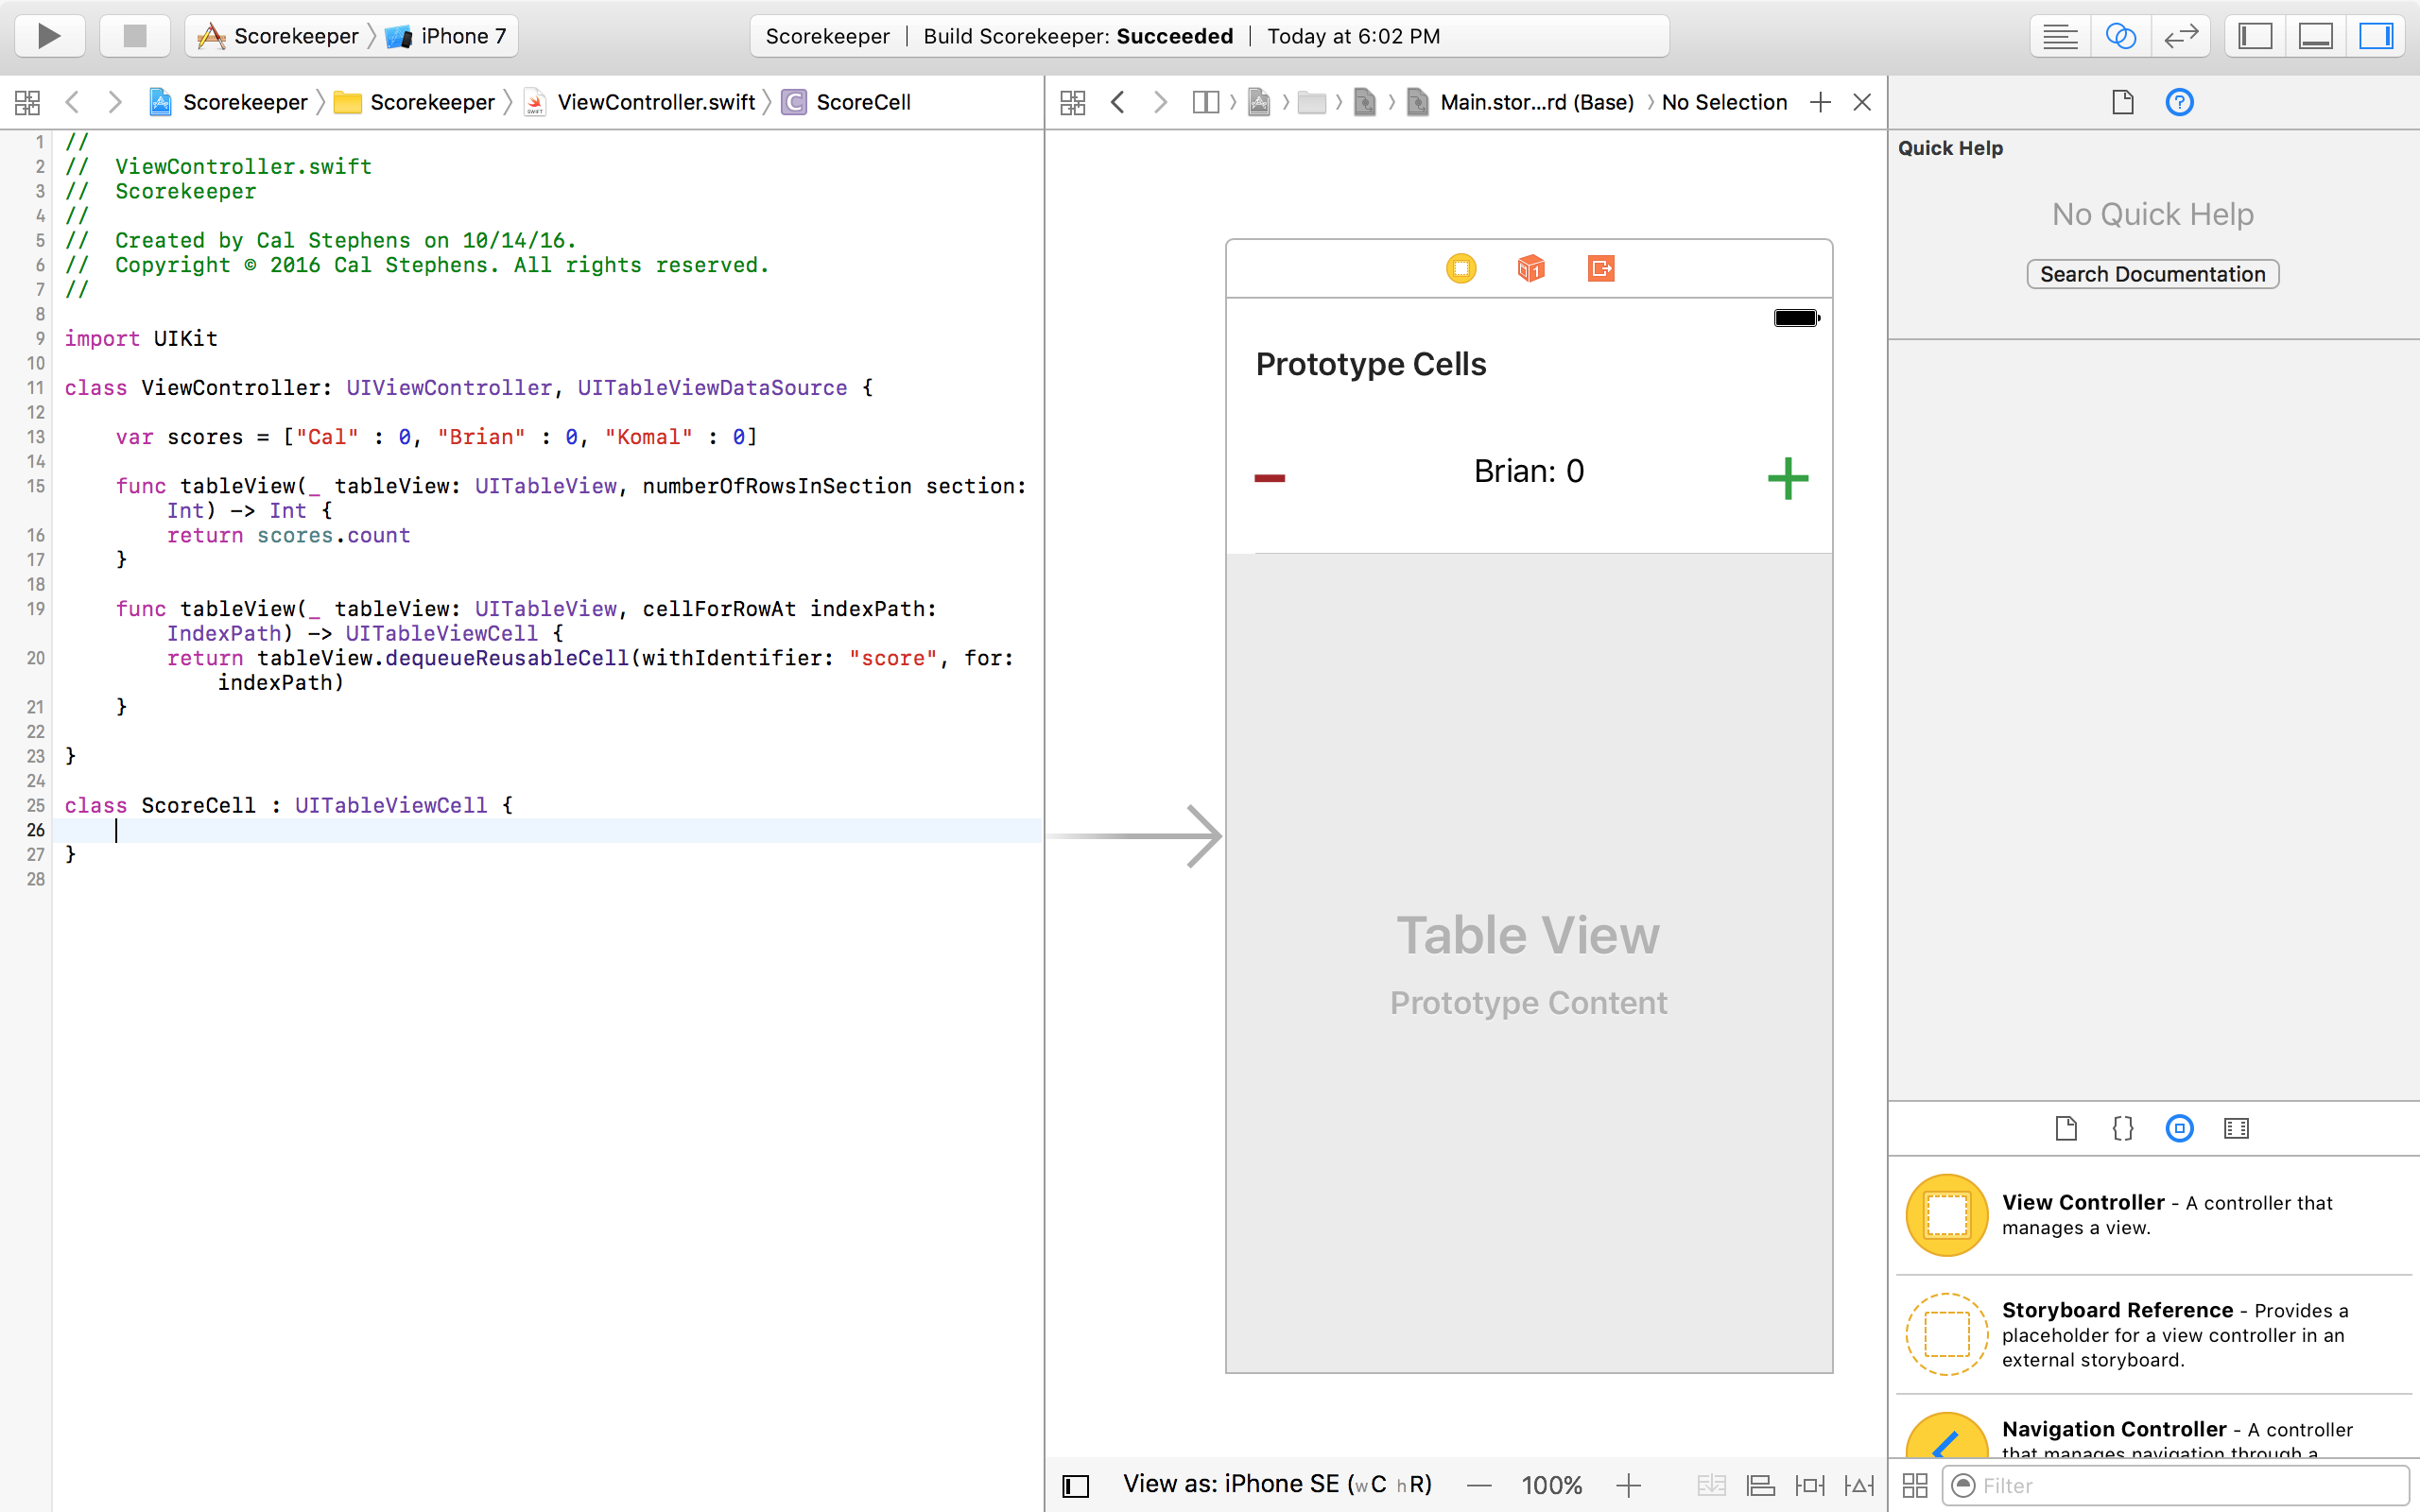
It’s definitely gonna feel a little cramped, though. Unfortunately, Xcode was more designed for a 27” desktop than a 13” laptop.
To get more space, you can close the file manager on the left of the window and the view hierarchy to the left of the Storyboard. You can close them through the buttons at the top-right of the Xcode window and the small button at the bottom-left corner of Interface Builder.
It should definitely feel a little more spacious now:
Connecting your @IBOutlet
In Interface Builder, you can control-drag from any component to establish a relationship with another component. This extends to the code as well.
But the way it’s set up right now, Xcode won’t let you connect the label to the ScoreCell:
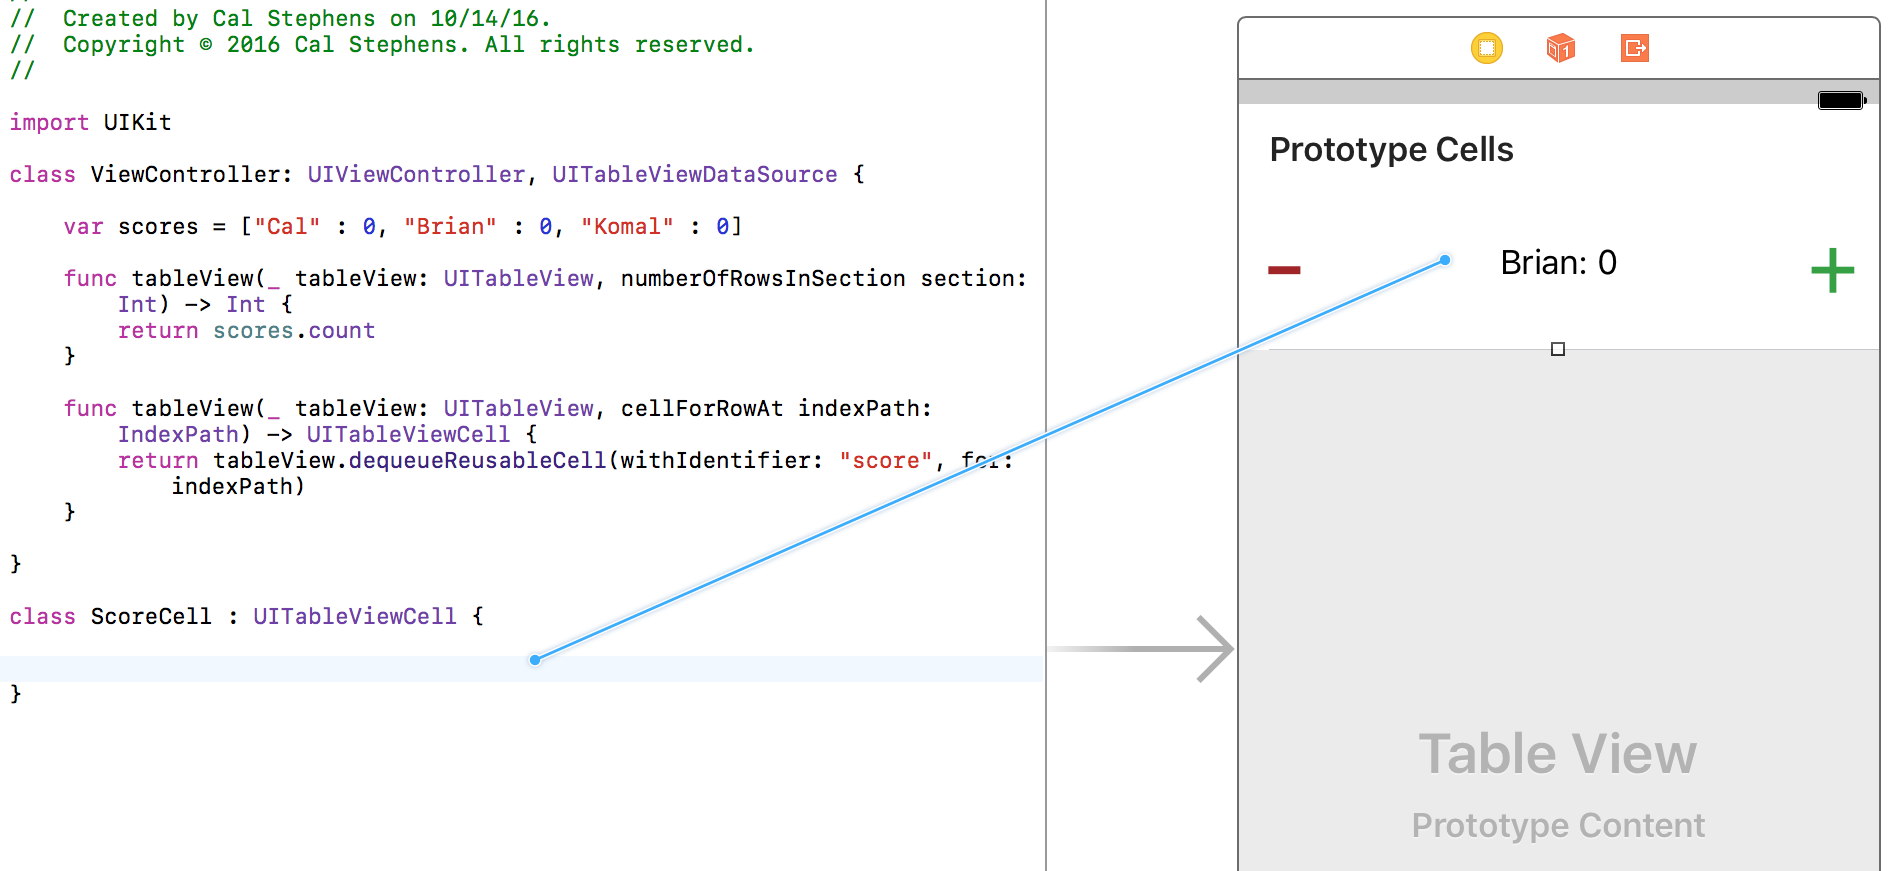
This is because the cell doesn’t know that it’s supposed to be a ScoreCell yet. We have to explicitly set the cell’s custom class. To do this, you want to select the Cell and open the Identity Inspector.
Tip: Force Touch
If you’re on a Mac that supports Force Touch, you can force click anywhere in the canvas to get a list of all of the views underneath your cursor. This is useful when you want to select a view buried underneath other content.
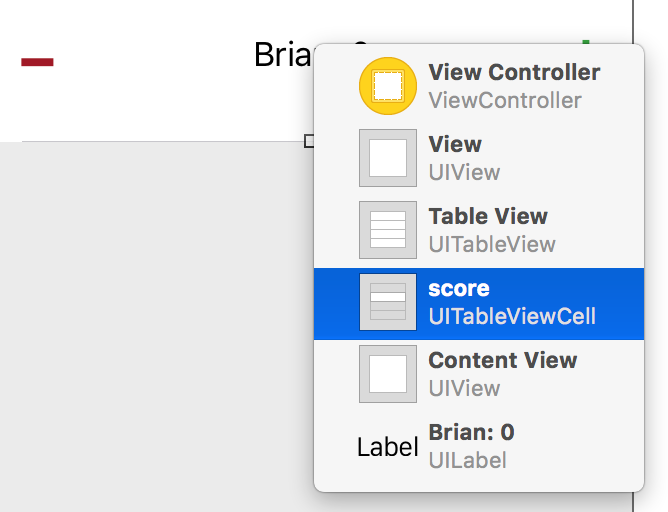
If you don’t have Force Touch, you can reopen the View Hierarchy and select the Cell from there.
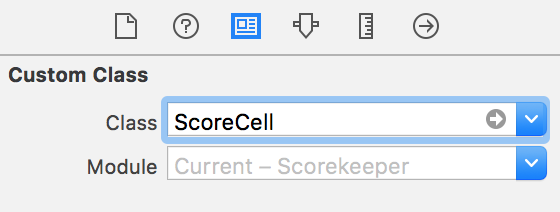
Setting the Custom Class
Once you have the cell selected, you want to open the Identity Inspector.
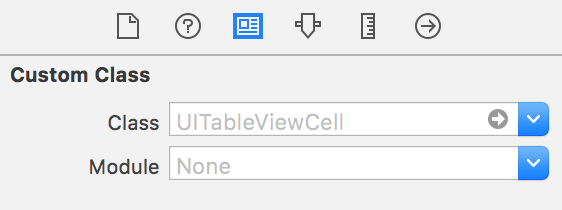
You want to set the Custom Class to ScoreCell. Xcode should quickly try to autocomplete the class name. If it doesn’t, you may not have the correct view selected.
Actually connecting the @IBOutlet
Now we can actually connect the label to our code. You can control-drag from the label to the ScoreCell class:
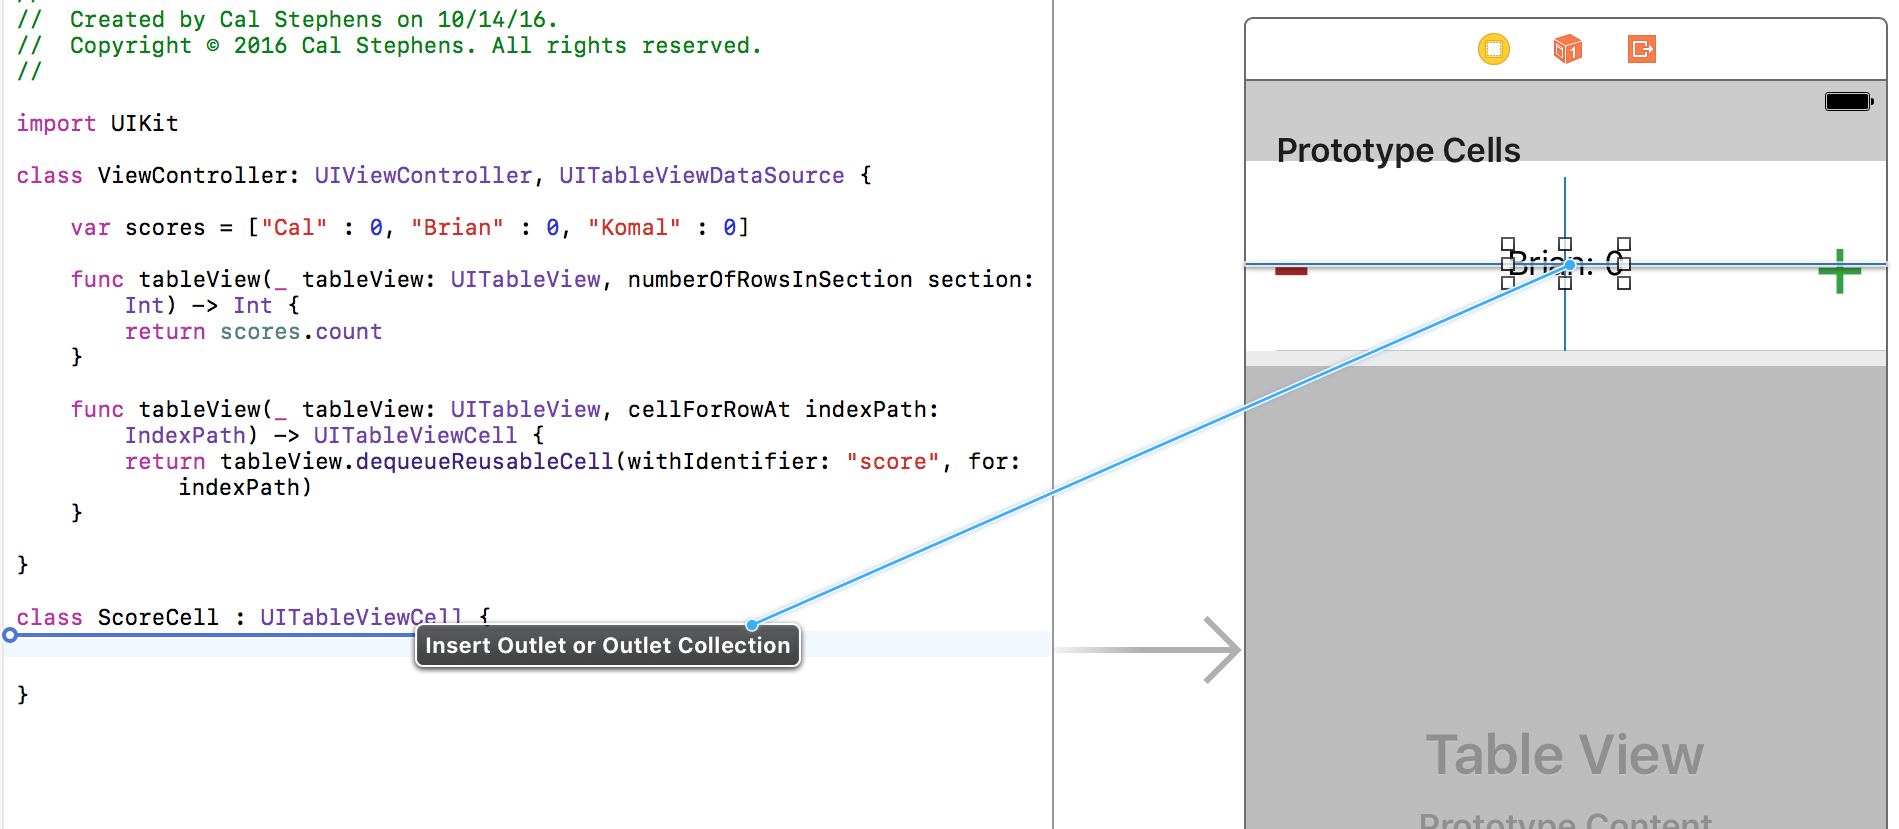
You can name the variable whatever you want and then press the Connect button.
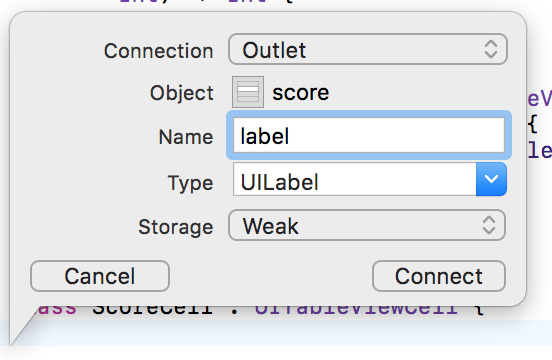
Now you should have a reference to the UILabel inside of your ScoreCell class.
class ScoreCell : UITableViewCell {

    @IBOutlet weak var label: UILabel!

}
You don’t need to worry about what everything on that line means. The only parts that really matter for us is the name (label) and the type (UILabel). For a detailed explanation of the individual keywords and what that exclamation mark is doing, read Part 5 Bonus: Explaining @IBOutlets.
Recap
We added a custom subclass of UITableViewCell, assigned it to our cell in Interface Builder, and set up our label’s @IBOutlet.
Next Time
We’ll add a function that lets the Table View Delegate populate the content in individual cells.


